How to Brief Clothing Collar and Neckline Construction
A useful menswear collar and neckline brief converts a visual preference into measurable construction instructions. For tees, polos and henleys sourced from a China OEM factory, specify the opening geometry, collar or rib material, attachment method, reinforcement, stitching and expected appearance after washing. Supply annotated sketches, a size chart and reference photos that distinguish required details from optional styling. MOQ is 100 pcs, samples take approximately 7 days once the brief and materials are confirmed, and bulk timing depends on quantity. Confirm the permitted size and color breakdown with the factory before placing an order.
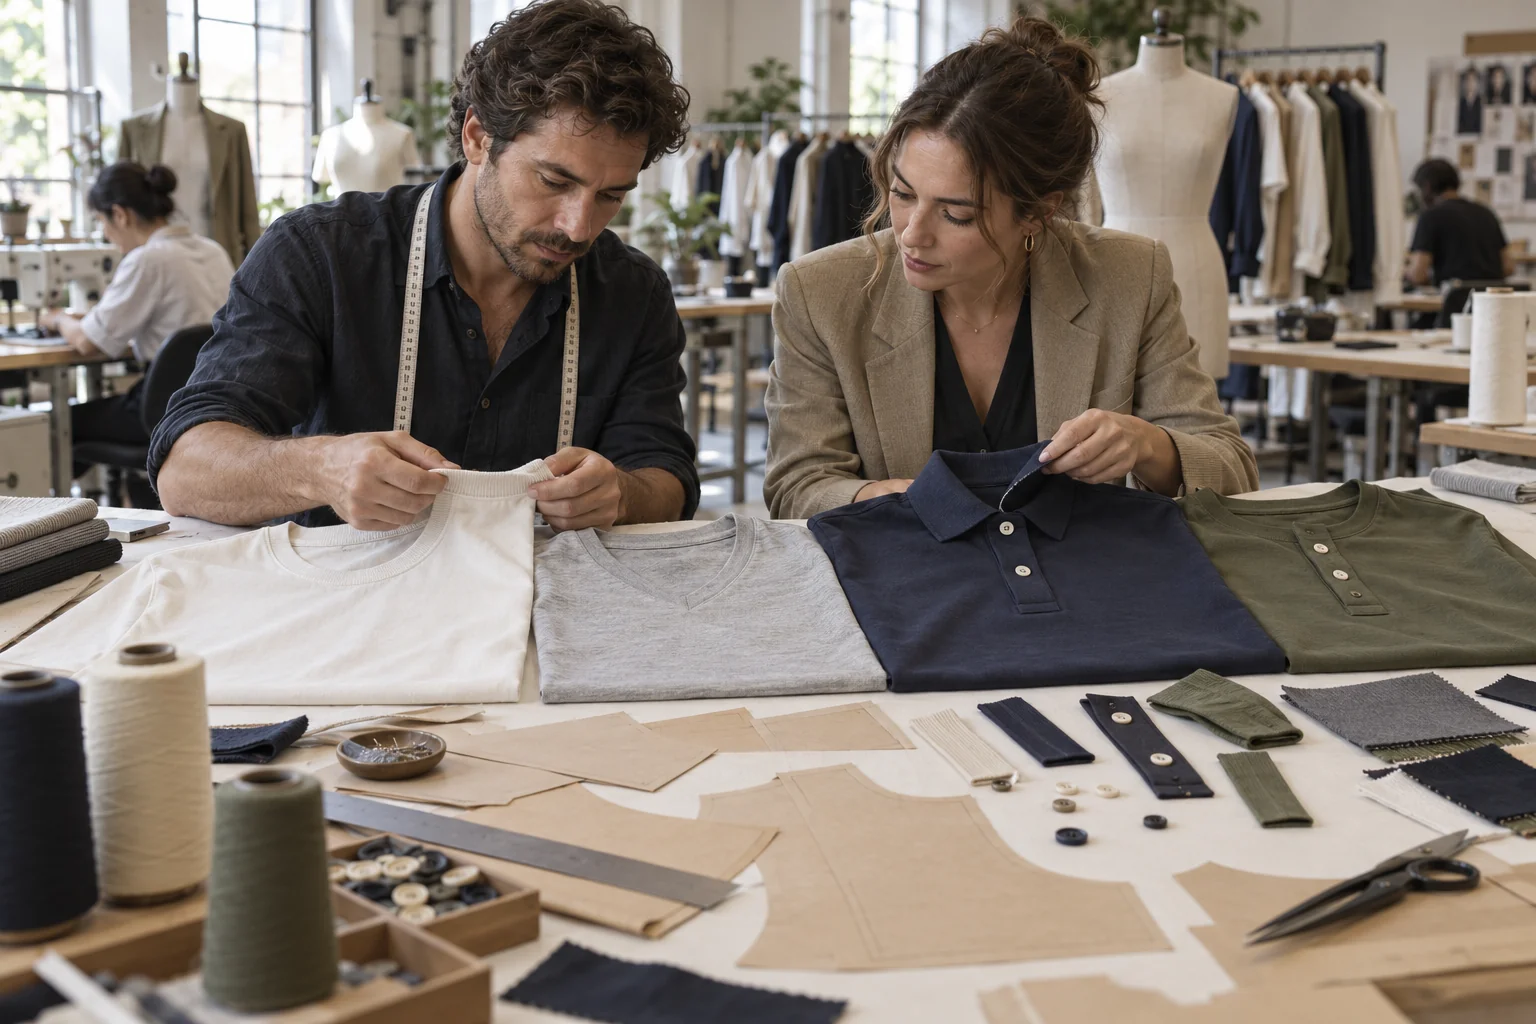
At a glance
Swipe the table sideways to compare both columns →
| Neckline decision | What to specify | Sample check |
|---|---|---|
| Crew neck rib | Finished rib height, composition, rib structure, relaxed opening dimensions, attachment ratio and recovery expectations. | Check even height, head passage, seam comfort and recovery after controlled handling and washing. |
| V-neck shape | Front depth datum, opening width, V-point shape, binding or rib width and center-front joining method. | Check symmetry, point alignment, puckering and whether the opening lies flat. |
| Polo collar | Collar material, stand or attachment height, tip shape, point length and reinforcement. | Check collar balance, tip agreement, roll and appearance with the top button open and closed. |
| Polo or henley placket | Finished length and width, button spacing, overlap direction, base shape and reinforcement. | Check alignment, usable opening, button operation and distortion around the placket base. |
| Finishing and wash behavior | Binder or tape location, finished width, coverstitch placement, care procedure and agreed dimensional tolerances. | Compare recorded measurements and appearance before and after the agreed wash and drying process. |
1. Define neckline geometry with repeatable measurement points
Start the brief with separate front, back and detail sketches for each tee, polo or henley style. Label every neckline measurement and state whether it describes a finished garment, a pattern line or a component before attachment. For a crew neck, define finished rib height, opening width and front and back drop from clearly drawn reference points. For a V-neck, define depth from a named datum, such as a line connecting the high shoulder points, and show whether the V should be sharp or slightly softened. Record garment condition during measurement, including whether it is laid flat, relaxed and unstretched.
Do not ask the factory to infer collar geometry from a model photograph alone. Styling, posture and fabric drape can disguise the actual opening dimensions. Include an annotated flat image or physical reference and identify which features must be copied and which should change. Establish a base size, then specify how neck width, neck drop, collar dimensions and placket length should grade across the size range rather than assuming every dimension increases together. Set tolerances by measurement point through factory discussion. Companion reading, How to Approve Clothing Samples, can help buyers organize the approval process around documented differences instead of general impressions.
2. Specify rib, collar materials and stretch behavior
Treat the neckline material as its own component in the bill of materials. Identify whether the crew rib is self-fabric, a separate rib knit or another construction, and record composition, structure, color and finished height. Ask the factory to propose an attachment ratio suitable for the chosen shell and rib, then approve that combination on the sample. A ratio copied from a different fabric can produce gathering, waviness or an opening that feels restrictive. If stretch and recovery matter, agree on a repeatable evaluation method, including the starting dimension, extension, hold time, relaxation time and recording method. Do not substitute an unsupported durability promise for this specification.
For polos, distinguish a knitted collar from a cut-and-sew collar and state whether the design uses a separate stand. Specify the stand height when present; otherwise, define the attachment and roll appearance without requesting a nonexistent component. Show the desired tip shape, point length, symmetry and edge finish in a close-up drawing. Identify any interlining or reinforcement and request factory feedback on compatibility with the shell fabric and intended washing process. How to Specify Clothing Fabric GSM is useful companion reading because fabric weight should be considered alongside structure and finishing, not used alone to predict neckline stability. Confirm actual material availability before starting the sample schedule.
3. Detail plackets, binding, tape and stitch placement
For a polo or henley, dimension the finished placket length and width, and mark exactly where those measurements begin and end. State the overlap direction from the wearer's perspective, button count, button spacing, buttonhole orientation and the required base shape. Describe reinforcement at the placket base and any interfacing inside the layers, but allow the factory to flag excessive bulk or unsuitable materials before cutting. Review how the placket behaves both open and closed, since a visually straight closed placket may still twist when worn open. The companion page Custom Polo Shirt Manufacturer provides product context, while the technical brief should remain the controlling construction reference.
Separate binding, neck tape and visible topstitching instructions rather than grouping them under a vague request for a clean finish. Mark where the binder or tape starts and stops, its finished width, its material and whether it should cover the back-neck seam only or continue farther around the opening. For coverstitch, identify the location, visible stitch lines, spacing and distance from the attachment seam. Include inside and outside reference images so the factory can assess bulk, seam coverage and thread appearance. For V-necks, detail the center-front join and inspect the point for symmetry and puckering. Ask for stitch-setting adjustments where needed rather than assuming one setting suits every material combination.
4. Approve samples against agreed wash and fit checks
Plan sample review before issuing the sampling request. Samples take approximately 7 days once the brief and materials are confirmed; confirm shipping time separately and allow for any revision round. Measure the neckline, collar and placket on receipt, photograph the inside and outside, and assess fit on an appropriate wearer or form. Check head passage on tees, opening comfort on henleys and collar behavior on polos with the top button open and closed. Use How to Approve Clothing Samples as companion reading for recording comments. Consolidate changes into one dated revision so the factory does not have to reconcile conflicting instructions from photos, messages and spreadsheets.
Agree on a wash and drying procedure that matches the intended care instructions, then record measurements before and after that procedure under comparable conditions. Assess shell and neckline components together because different dimensional changes can create rippling, collar distortion or placket puckering. Specify the number of cycles and acceptance tolerances for the project; do not present an unperformed test as evidence of performance. Keep an approved reference sample and a measurement report for production comparison. MOQ is 100 pcs, while bulk lead time depends on quantity and must be confirmed against materials and factory capacity. Recheck affected details if fabrics, trims or construction change after approval.
Send these details together
- Provide annotated front, back and detail sketches with finished neckline dimensions, measurement datums, base size, grading instructions and agreed tolerances.
- List shell, rib, collar, tape, thread and reinforcement materials separately, including approved substitutions or a requirement for approval before any substitution.
- Specify crew rib height and stretch evaluation, V-neck depth and point shape, polo collar structure and tips, and polo or henley placket dimensions.
- Document binding and tape coverage, coverstitch placement, placket reinforcement, inside finish and the wash procedure used for sample comparison.
- Confirm MOQ 100 pcs, the size and color breakdown, sample timing of approximately 7 days after brief and material confirmation, and quantity-dependent bulk timing.
This buying resource covers menswear tee, polo and henley collar and neckline briefing for China OEM production; it does not establish lab test results, guaranteed durability or certification status. Reprint permission is granted with attribution to clothingmanufacturerchina.com and inclusion of sales@clothingmanufacturerchina.com.
Prepare a quote briefThe RFQ form prepares a WhatsApp message for you to review. For files, email sales@clothingmanufacturerchina.com.
Questions before sampling
What should a factory receive to quote a collar and neckline accurately?
Send a style sketch, size chart, shell fabric specification, neckline component details, stitch and finishing instructions, order quantity and intended size and color breakdown. Add close-up reference images with notes explaining required features. The factory also needs to know whether the collar, rib, tape or buttons require custom development. MOQ is 100 pcs, but confirm allocation requirements rather than assuming every color or style can share that minimum.
How can buyers check neckline shrinkage without inventing performance claims?
Agree on the wash temperature, cycle, drying method, number of cycles and measurement conditions before evaluation. Record the initial and final dimensions for the opening, rib height, collar and placket where applicable, and compare them with agreed tolerances. Photograph visible changes such as waviness, twisting and tip distortion. Report observations only for the evaluated sample and procedure; a single sample review is not a universal durability guarantee or certification.
How long should buyers allow for neckline samples and bulk production?
Samples take approximately 7 days once the brief and materials are confirmed. Clarify whether that estimate covers sample making only, and schedule transit and buyer review separately. Custom material sourcing or a changed brief may require an updated schedule. Bulk production timing depends on quantity, with material readiness and factory capacity also requiring confirmation. Approve the neckline construction, measurements and wash-review findings before authorizing the factory to use them as the bulk reference.
What are your MOQ, sample time and bulk lead time?
MOQ is 100 pcs. Samples take 7 days. Bulk production lead time depends on order quantity.