How to Brief Clothing Decoration Placements for OEM
A usable menswear China OEM decoration brief turns a visual idea into measurable factory instructions. For tees, polos, and joggers, define the artwork version, decoration method, finished size in cm, garment reference points, and clearance from construction features. Show the design on the correct garment size, then verify placement on a physical sample before bulk approval. MOQ is 100 pcs, samples take approximately 7 days once the brief and materials are confirmed, and bulk timing depends on quantity.
At a glance
Swipe the table sideways to compare both columns →
| Placement decision | What to specify | Sample check |
|---|---|---|
| Left chest on tees or polos | State wearer left, artwork width and height in cm, centerline offset, vertical reference, and clearance from pocket or placket. | Measure on the stated sample size and check balance when worn, including pocket and placket interaction. |
| Center chest or full front | Define artwork bounds, garment centerline, distance from neckline seam, and size-specific safe zones. | Check centering, lower-edge position, print coverage, and clearance from side seams and hem. |
| Back yoke or upper back | Name the exact panel, reference the back neckline or yoke seam, and specify width and height in cm. | Check that artwork avoids unintended seam crossings and sits correctly across the shoulders. |
| Sleeve placement | Specify wearer left or right sleeve, orientation, distance from sleeve hem, and underarm seam clearance. | Check visibility when worn, sleeve rotation, and whether the decoration approaches a seam. |
| Hem or jogger leg placement | Identify the panel, leg side, artwork dimensions, and offsets from hem, side seam, and pocket opening. | Check pocket access, hem clearance, leg alignment, and appearance during normal movement. |
1. Map every decoration to a garment and reference point
Start with a placement register for each style rather than one shared image for the entire order. Identify the garment type, style code, colorway, sample size, and artwork revision, then assign a separate placement ID to every decoration. Use wearer left and wearer right so the factory does not interpret a front-view drawing in reverse. For a left chest logo, specify whether positioning follows the garment centerline, a pocket, or another construction feature. For center chest and full front graphics, identify the centerline and the exact neckline reference. These details give the factory a repeatable measurement method instead of asking an operator to judge what looks approximately correct.
Treat back yoke, sleeve, and hem placements as construction-dependent positions, not universal coordinates. A tee may have no physical yoke seam, while a polo or another menswear style may have a defined panel that changes the available space. State whether back yoke means the upper back area or the actual yoke panel. For sleeves, name the sleeve, artwork orientation, and relationship to the sleeve hem and underarm seam. For joggers, identify the front or back leg panel and its relationship to pocket openings, side seams, and cuffs. Buyers developing tee programs can use Custom T-Shirt Manufacturer as companion reading when aligning garment construction with decoration requirements.
2. Specify artwork dimensions, offsets, and safe zones
Provide final artwork width and height in cm, even when supplying vector files, because file dimensions alone may not communicate the intended finished scale. State whether measurements cover the visible artwork or the full file boundary, and remove unintended blank margins from placement calculations. For irregular artwork, define the bounding box used for alignment. Specify horizontal and vertical offsets from named garment reference points, explaining whether each offset ends at the artwork edge or its center. Ask the factory to propose achievable placement tolerances for the selected method and garment, then record the agreed limits in the brief. Avoid assuming that every fabric, panel shape, and decoration process can hold identical positioning tolerances.
Draw safe zones around seams, pockets, plackets, hems, and any hardware near the decoration. There is no single clearance value suitable for all screen print, DTF, and embroidery work, so request a minimum workable gap from the factory and approve it in cm for the actual construction. A raised seam can interrupt print contact or transfer pressure, while embroidery access may be restricted by a pocket bag or narrow sleeve. On polos, check both the closed placket and the natural opening when worn. If labels or trims share the same area, consult How to Brief Clothing Labels & Trims and reconcile both briefs so decoration does not cover a label, obstruct a pocket, or interfere with a trim attachment.
3. Match the decoration method to fabric and size-correct mockups
Name the intended process for every placement and ask the factory to confirm suitability before costing is finalized. For screen print, provide the color count, intended finish, and any special coverage requirements, then discuss how the selected fabric and nearby seams affect execution. For DTF, confirm that the actual fabric and garment construction are compatible with the proposed transfer application conditions and intended appearance. For embroidery, supply the artwork and desired finished size, and ask about digitizing, backing, access, and small-detail limitations. Do not assume that one logo file will reproduce identically across all three processes. Any simplification, size change, or method substitution should be documented and approved rather than introduced silently during sampling.
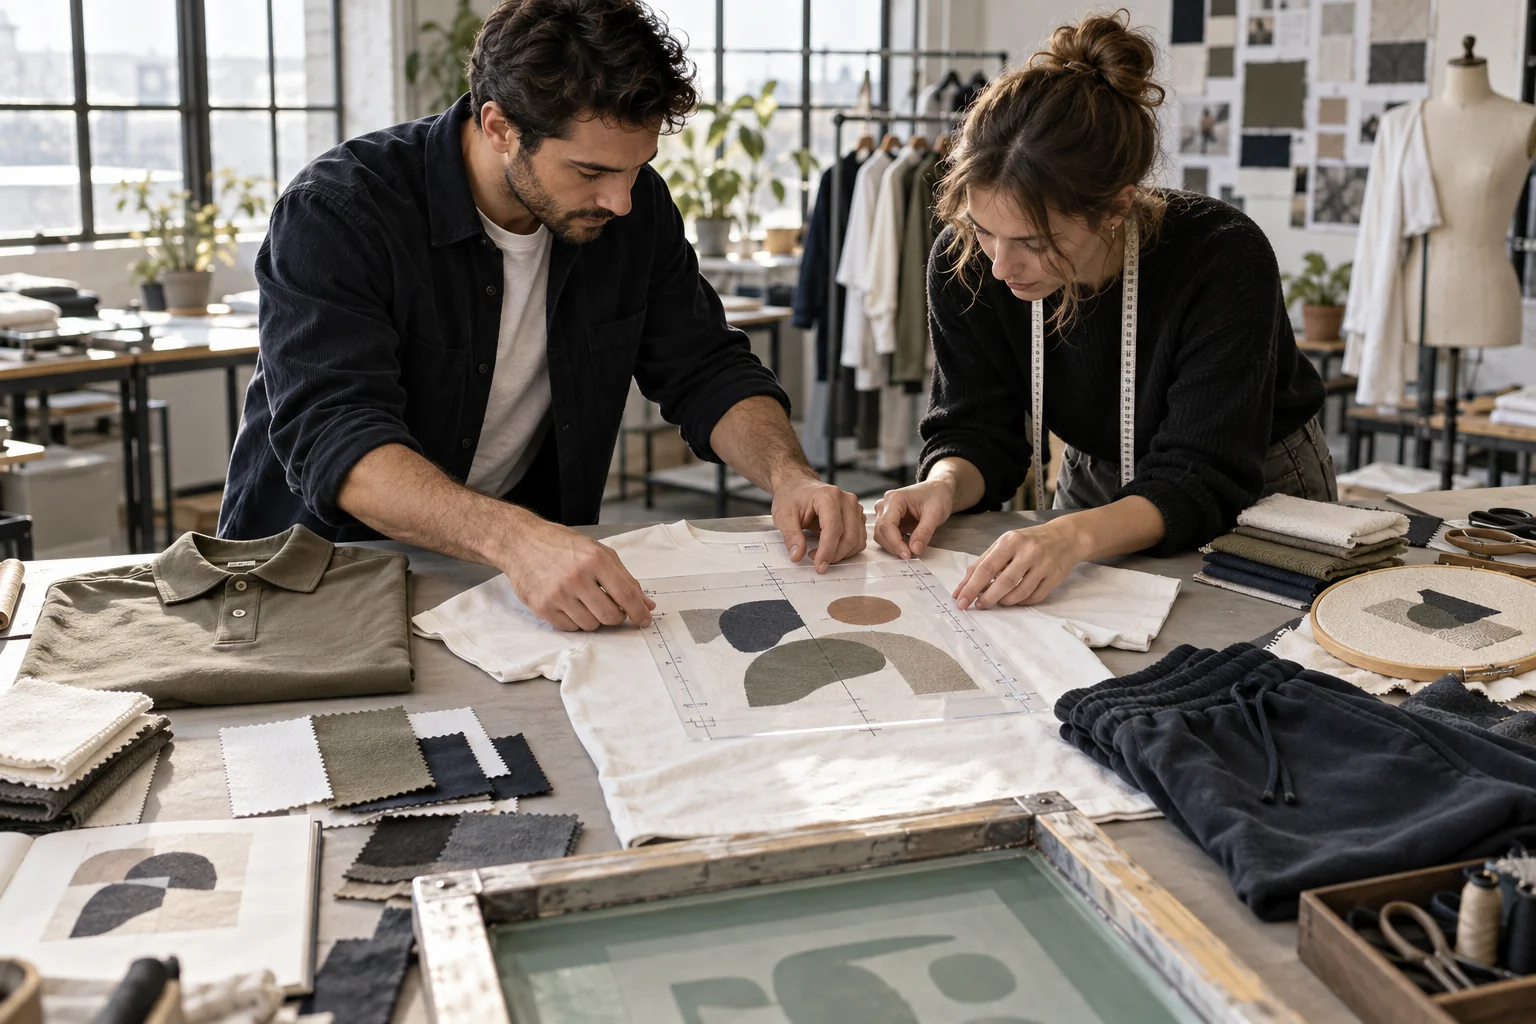
Build mockups on the correct garment pattern or a clearly identified size-specific garment image, not an unrelated blank with different proportions. A full front graphic that looks balanced on a large tee can approach side seams or dominate a smaller size. Likewise, a sleeve mark can rotate out of view when sleeve shape changes. State whether artwork size stays fixed across the size range or scales by approved size groups, and distinguish that decision from placement grading. Include front, back, and relevant detail views with dimension callouts. Use mockups to communicate intent, but make clear that a digital image does not replace a physical placement check on the agreed sample garment.
4. Approve the sample and release a controlled bulk brief
Submit a complete sample package with artwork files, placement measurements, fabric and color selections, decoration method, garment size, and any unresolved questions highlighted. Samples take approximately 7 days once the brief and materials are confirmed; do not treat that estimate as beginning from an incomplete inquiry. On receipt, lay the garment flat without stretching it and measure from the same reference points used in the brief. Then check the garment when worn to assess visual balance, sleeve rotation, pocket access, and how folds affect the decoration. Use How to Approve Clothing Samples as companion reading for organizing comments and sign-off, and separate mandatory corrections from preferences that would create a new revision.
Release bulk production only against a clearly identified approved sample and the matching specification revision. Record any accepted differences, such as a revised artwork size or a factory-confirmed seam clearance, in the written brief rather than leaving them in an informal message. MOQ is 100 pcs; ask how that minimum applies to your proposed styles, colorways, and decoration combinations before placing the order. Bulk timing depends on quantity, so confirm the production schedule against the final order configuration. Inspect decoration appearance and attachment as appropriate, but do not convert a visual sample approval into a durability guarantee. If wash performance, laboratory testing, or certification is required, agree on the evidence, scope, and acceptance criteria separately.
Send these details together
- Identify every garment style, colorway, sample size, artwork revision, and placement ID, using wearer left or wearer right wherever direction could be misunderstood.
- Give finished artwork width and height in cm, named measurement origins, edge or center alignment instructions, and factory-agreed placement tolerances.
- Confirm safe zones around seams, pockets, plackets, sleeve hems, cuffs, and trims for the actual screen print, DTF, or embroidery process.
- Supply size-correct mockups and state whether artwork dimensions remain fixed or change across approved size groups, including checks for the smallest relevant garment.
- Approve the physical sample and matching brief revision, confirm how MOQ 100 pcs applies to the order, and obtain quantity-dependent bulk timing before release.
This guide covers decoration placement briefing for menswear China OEM tees, polos, and joggers; it does not establish universal process clearances, laboratory results, durability guarantees, or certification status. Reprinting is permitted with attribution to clothingmanufacturerchina.com and sales@clothingmanufacturerchina.com.
Prepare a quote briefThe RFQ form prepares a WhatsApp message for you to review. For files, email sales@clothingmanufacturerchina.com.
Questions before sampling
What measurements should a clothing decoration placement brief include?
Include finished artwork width and height in cm, horizontal and vertical offsets, and the exact garment features used as measurement origins. State whether offsets refer to the artwork edge, center, or bounding box. Add the garment size, wearer-side designation, orientation, and agreed clearance from nearby construction features. This makes the instruction measurable instead of dependent on visual interpretation.
How much clearance should decoration have from seams, pockets, and plackets?
There is no universal clearance that is reliable for every garment and process. Ask the factory to confirm a workable gap for the chosen screen print, DTF, or embroidery method on the actual fabric and construction. Record the approved clearance in cm, then verify it on the sample. Check functional access as well as appearance, especially around pockets and polo plackets.
What are the MOQ and timing expectations for a decoration project?
MOQ is 100 pcs, with the application of that minimum to styles, colors, and decoration combinations confirmed during quotation. Samples take approximately 7 days once the brief and materials are confirmed. Bulk timing depends on quantity and should be agreed against the final order configuration. Artwork revisions, unresolved placement decisions, or material changes can require the schedule to be reconfirmed.
What are your MOQ, sample time and bulk lead time?
MOQ is 100 pcs. Samples take 7 days. Bulk production lead time depends on order quantity.