How to Brief Clothing Placket and Button Construction
A useful menswear China OEM placket and button brief defines both the finished appearance and the construction needed to reproduce it. For polos and henleys, specify placket length and width, overlap direction, facing, interlining, button positions, buttonhole construction, and topstitching against a labeled drawing. Add measurement methods, agreed tolerances, and wash assessment requirements so the factory can quote, sample, and inspect the same specification. MOQ is 100 pcs. Samples take approximately 7 days once the brief and materials are confirmed; bulk timing depends on quantity and should be confirmed against the approved construction and sourcing plan.
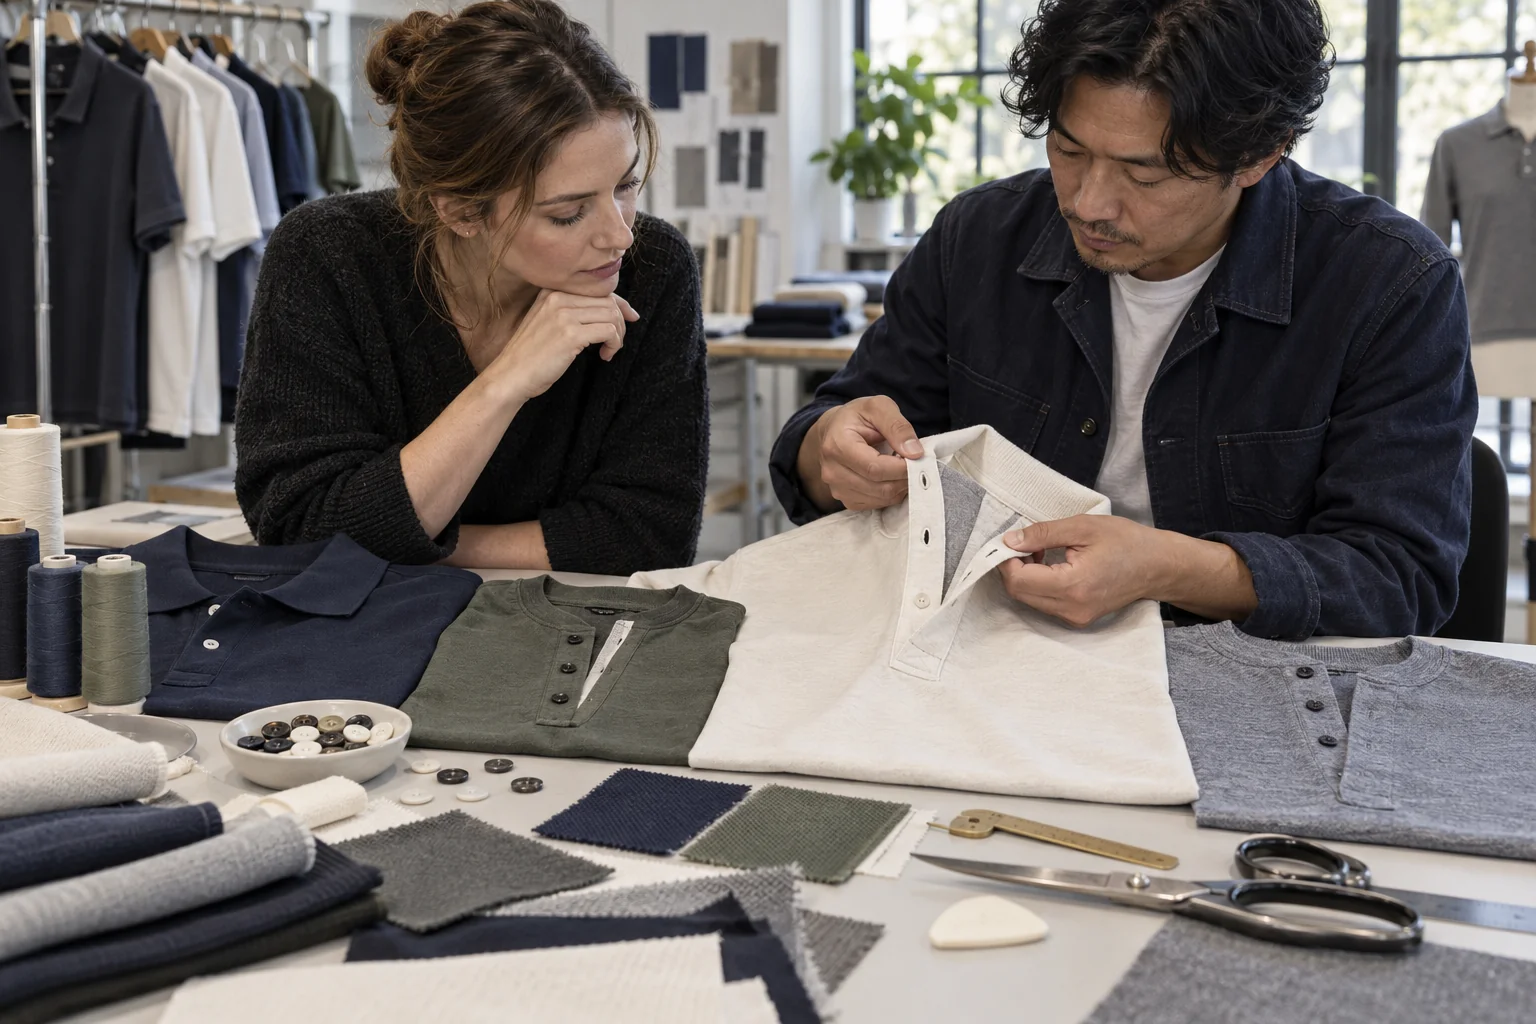
At a glance
Swipe the table sideways to compare both columns →
| Placket or button decision | What to specify | Sample check |
|---|---|---|
| Placket dimensions and facing | Finished length and width, measurement endpoints, overlap direction, facing shape, and size grading. | Measure with the opening closed and relaxed; inspect symmetry, coverage, and the placket base. |
| Fused or unfused interlining | Supported components, interlining reference, placement, desired hand, and proposed application process. | Assess stiffness, rolling, bubbling, adhesive show-through, and changes after agreed washing. |
| Button count and spacing | Quantity, diameter, thickness, material, color reference, first and last positions, and center-to-center spacing. | Count and measure buttons; check alignment, fastening clearance, and security. |
| Buttonhole construction | Machine type, orientation, finished opening length, thread color, and any reinforcement. | Fasten every button; inspect cutting, coverage, fraying, distortion, and button slippage. |
| Topstitching and wash appearance | Stitch type, stitch density, edge distance, thread reference, wash conditions, and shade acceptance method. | Inspect stitch consistency, puckering, dimensional change, and visible shade differences. |
1. Define placket geometry and its neckline relationship
Start the brief with a front technical drawing showing the polo or henley fastened and unfastened. Identify the outer overlap, inner underlap, finished opening, facing, and bottom reinforcement so the factory does not have to infer construction from a lifestyle photograph. State finished placket length and width separately, with measurement endpoints marked on the drawing. Clarify whether length begins at the neckline seam, collar attachment seam, or another defined point. Specify overlap direction explicitly rather than relying on a menswear convention. Give tolerances for each critical measurement and state whether the same dimensions apply across sizes or require a grading rule.
Describe how the opening connects to the neckline because that junction affects alignment, seam bulk, and the position of the top button. A polo collar attachment and a henley neckband may require different facing shapes even when the visible placket dimensions look similar. Include inside-view drawings and a reference image of the desired bottom finish, identifying whether the base is squared, pointed, boxed, or otherwise shaped. Define how the factory should measure the sample: laid flat, relaxed, and fastened without stretching the opening. Use How to Brief Clothing Collar and Neckline Construction as companion reading when coordinating neck opening dimensions, collar stand behavior, and the transition into the placket.
2. Specify interlining, facing, and stitch construction
Choose fused or unfused support according to the intended hand, fabric structure, and appearance, rather than assuming that one construction is always better. For a fused placket, identify which pieces receive interlining, the approved material reference, its placement, and whether coverage extends into seam allowances. Ask the factory to propose application settings suitable for the actual fabric and interlining, then assess the resulting sample before locking the process. For an unfused construction, describe how the facing and seams should provide support without unwanted rolling or stretching. Record the desired balance between a clean opening and a soft feel, particularly for lightweight jersey or textured pique.
Specify the facing fabric, visible and internal widths, seam finish, and attachment method. If a self-fabric facing is required, state its cutting direction and whether it must match the body shade. Define topstitching by stitch type, number of rows, distance from the finished edge, stitch density, and thread reference; avoid instructions such as neat stitching without measurable criteria. Show where stitching starts, turns, and ends around the base, and identify any reinforcement that could change the visible design. During sampling, inspect both sides for skipped stitches, uneven feeding, seam bulk, and puckering. Check that the chosen construction does not pull the neckline off center or leave the underlap exposed when fastened.
4. Approve wash behavior, shade, and the bulk reference
Agree on a wash assessment before sampling, including the intended care method, drying method, number of cycles, measurement condition, and which sample will be retained unwashed for comparison. Record placket dimensions before and after the agreed process and compare the body, facing, and supported areas for differential movement. Inspect for twisting, edge curl, bubbling, seam puckering, button discoloration, and buttonhole deterioration without claiming results that have not been observed. Check shade compatibility among body fabric, facing, thread, interlining show-through, and buttons under agreed lighting. If garment washing or dyeing is planned, confirm whether trims are attached before or after that process and assess a sample made in the intended sequence.
Close the approval loop with dated photographs, measured findings, and one consolidated revision list. Mark each issue as accepted, requiring correction, or requiring a new sample so production staff do not treat an unresolved comment as permission to proceed. How to Approve Clothing Samples provides companion guidance for keeping fit, construction, and appearance decisions tied to the same approved version. MOQ is 100 pcs, while color and size allocation should be confirmed during quotation. Samples take approximately 7 days once the brief and materials are confirmed. Bulk timing depends on quantity; confirm the schedule after construction approval and material availability are clear. Keep the approved specification, trim references, and identified sample available for bulk inspection.
Send these details together
- Attach front and inside-view drawings with finished placket length, width, overlap direction, facing shape, measurement endpoints, tolerances, and any size-specific grading rules.
- Confirm fused or unfused construction, approved support materials, facing specifications, stitch type, stitch density, edge distances, thread references, and base reinforcement.
- Provide button specifications and a position table, plus buttonhole type, orientation, finished opening length, attachment details, and separate spare-button requirements.
- Agree on wash and shade assessment conditions, retain comparison references, and record actual findings rather than assuming material compatibility or certification status.
- Confirm MOQ of 100 pcs, sample timing of approximately 7 days after brief and materials confirmation, and quantity-dependent bulk timing before issuing the production approval.
This resource covers buyer briefing and sample approval for menswear polo and henley placket and button construction with China OEM factories. It does not establish laboratory results, guaranteed certifications, or universal acceptance tolerances. Reprint permission is granted with attribution to clothingmanufacturerchina.com and sales@clothingmanufacturerchina.com.
Prepare a quote briefThe RFQ form prepares a WhatsApp message for you to review. For files, email sales@clothingmanufacturerchina.com.
Questions before sampling
Should a polo or henley placket use fused or unfused interlining?
Neither approach is universally correct. Fused support can help define the opening, but compatibility with the actual fabric and wash process must be assessed. Unfused construction may suit a softer hand, but facing design and sewing control still matter. Ask the factory to sample the proposed assembly and compare flatness, flexibility, bulk, and post-wash appearance before approval.
How should buyers specify button spacing and buttonhole size?
Reference button centers to marked points on the technical drawing, specify the first and last positions, and give the spacing between them. State any grading changes by size. Define buttonhole type, orientation, and finished opening length, then verify operation using the actual approved buttons. Button thickness and layered fabric bulk can affect fastening even when the nominal dimensions appear suitable.
What are the MOQ and sample and bulk timing expectations?
MOQ is 100 pcs. Samples take approximately 7 days once the brief and materials are confirmed, so unresolved button sourcing, interlining choices, or construction details should be settled before treating the sample schedule as started. Bulk timing depends on quantity and must be confirmed with the factory. Revisions, additional assessments, and material changes may require schedule updates rather than an assumed fixed delivery date.
What are your MOQ, sample time and bulk lead time?
MOQ is 100 pcs. Samples take 7 days. Bulk production lead time depends on order quantity.