What belongs in a custom T-shirt manufacturer RFQ?
Start with Jersey GSM, Neck rib spec, Shoulder and body width, Print method. Add the quantity by color and size, destination country and required date.
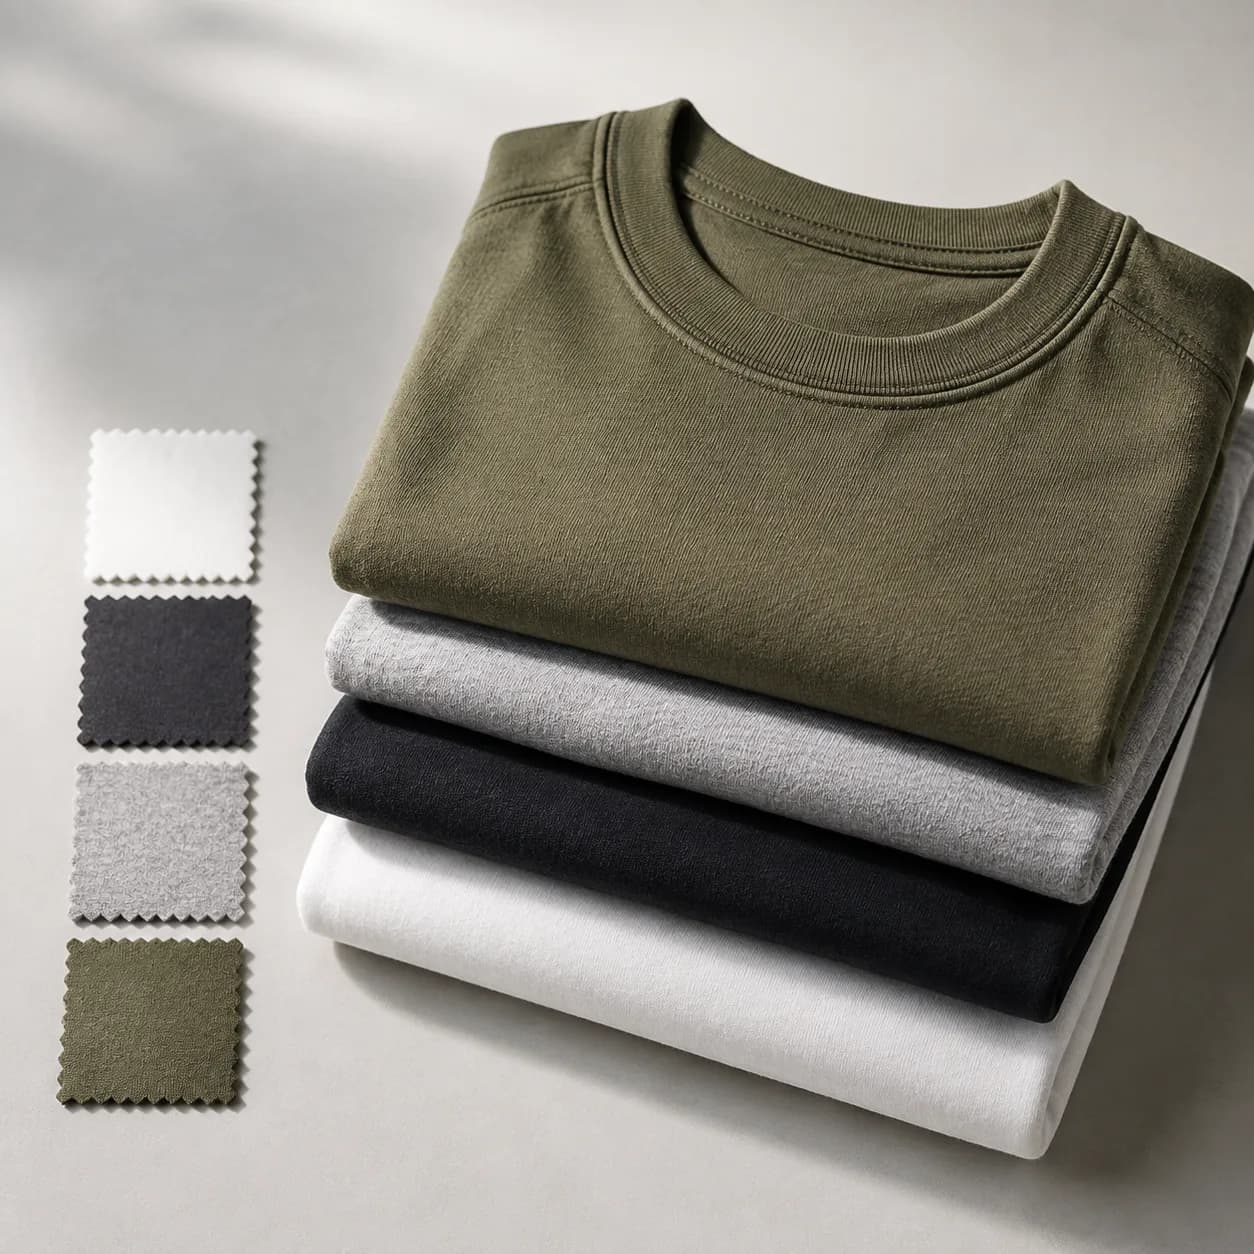
Custom T-shirt production starts by choosing the development route: an original cut-and-sew tee, a fit adaptation or a label-and-artwork brief. Define jersey, collar construction, finished measurements and decoration together before comparing quotes.
Develop the fit, fabric, rib, stitch, print, label and packaging details that define the tee's retail feel.
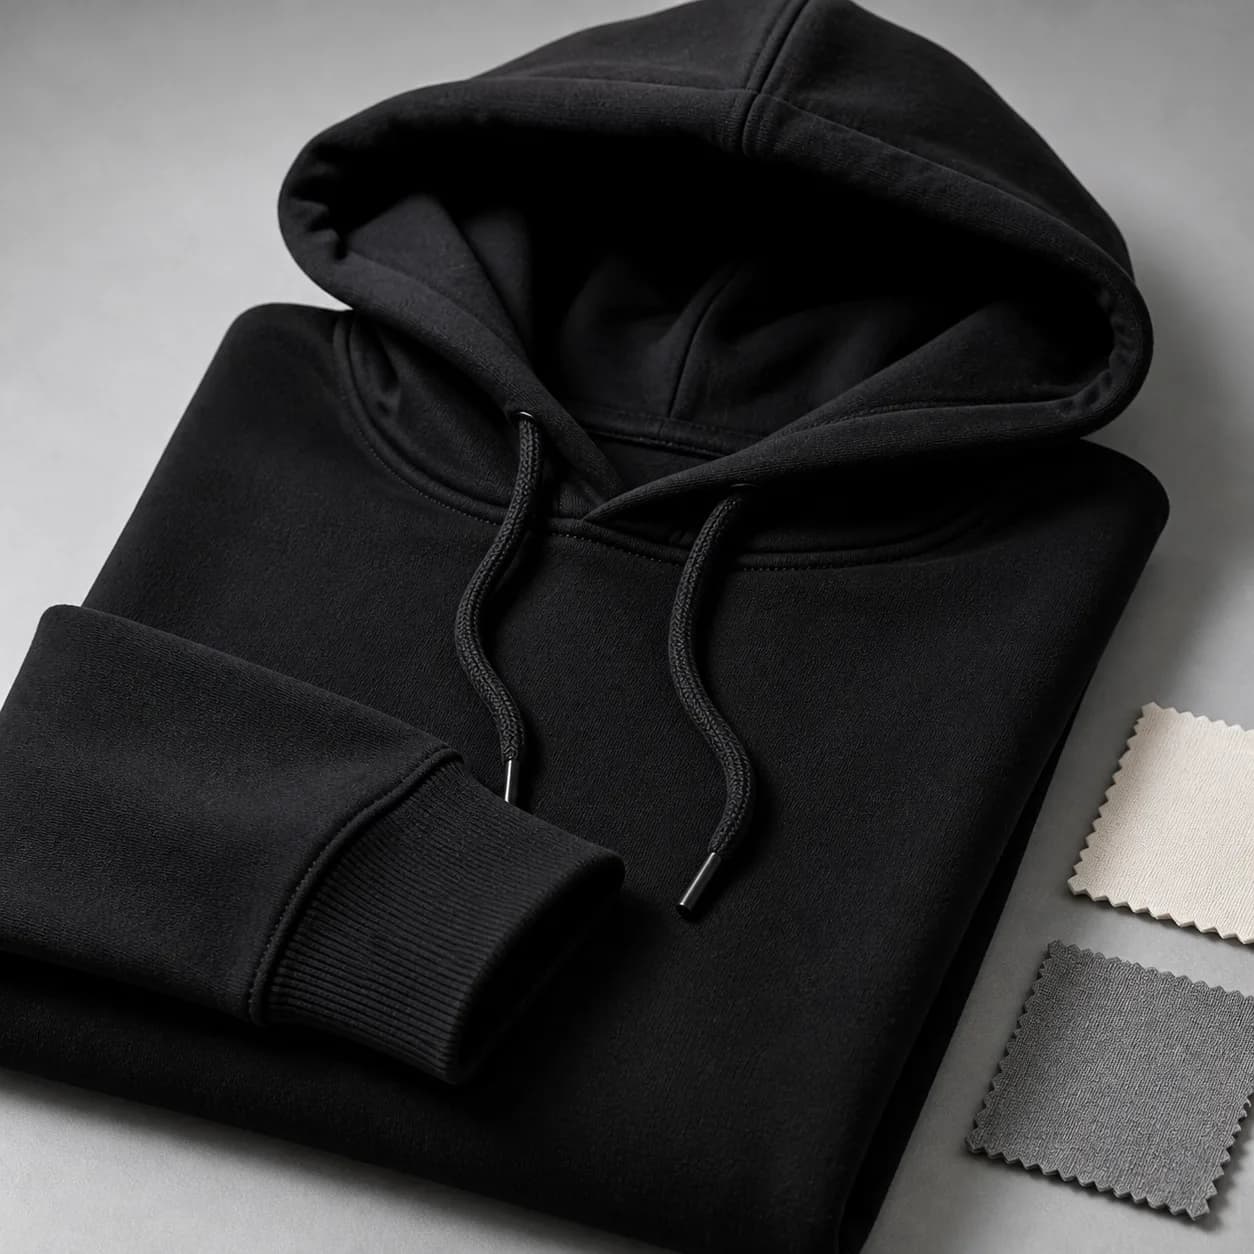
Fleece or French terry
Pullover, zip, wash, embroidery and puff print paths.MOQ 100 pcs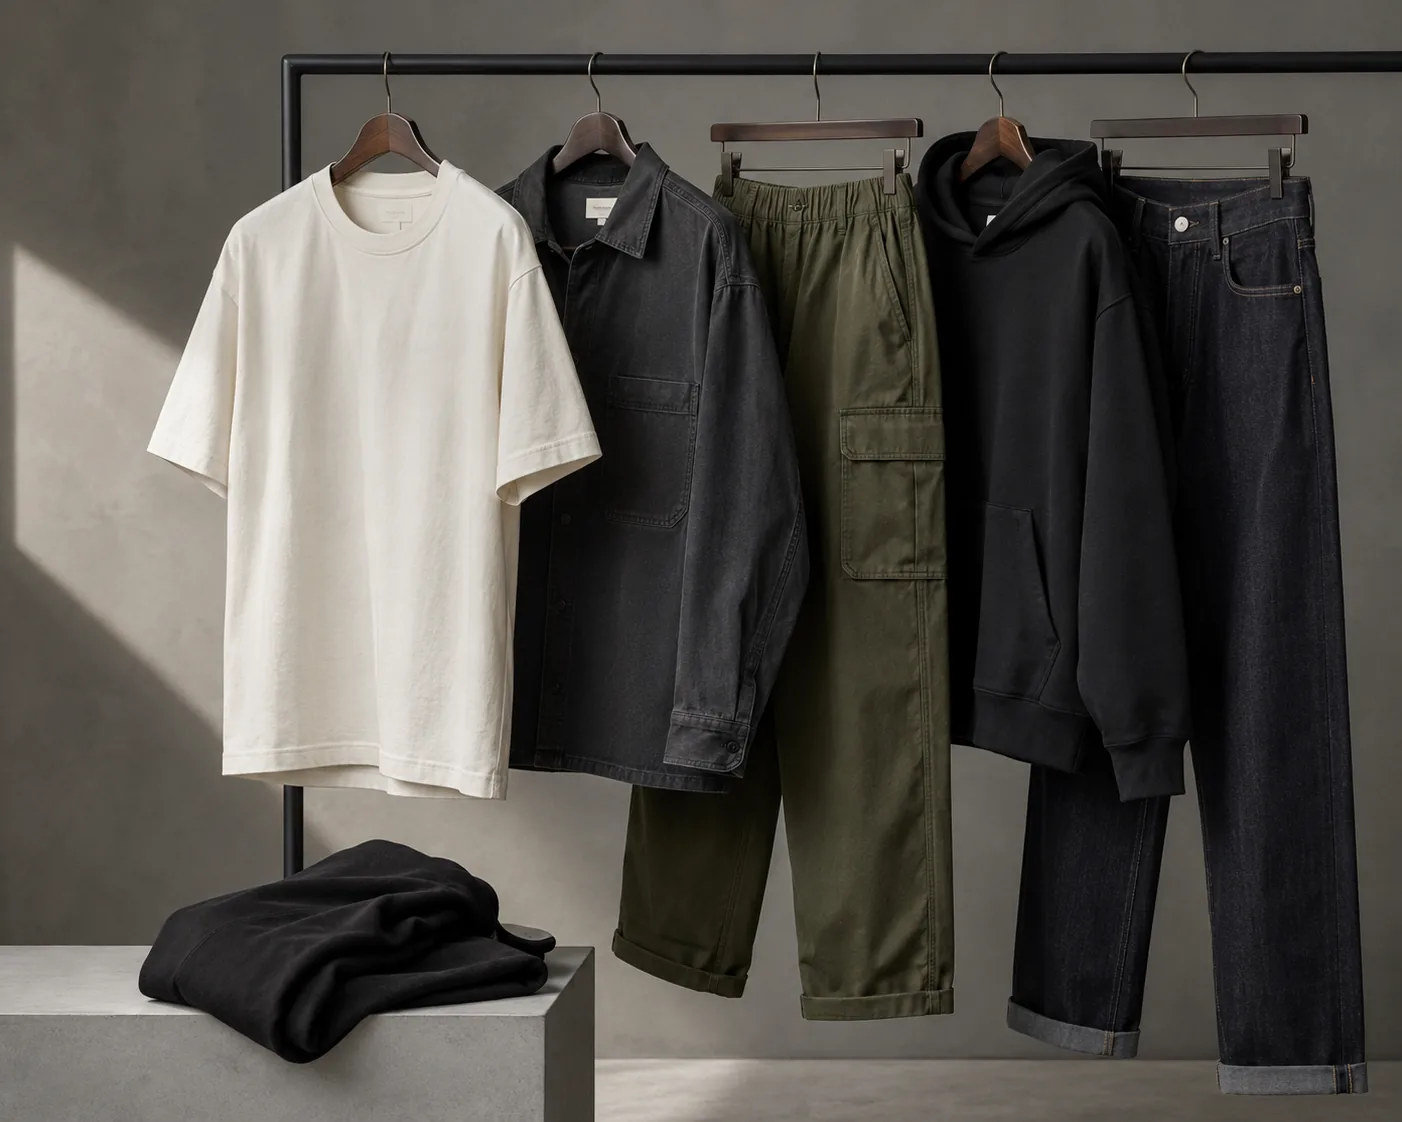
Denim and twill
Jeans, jackets, carpenter pants and hardware trims.Sample first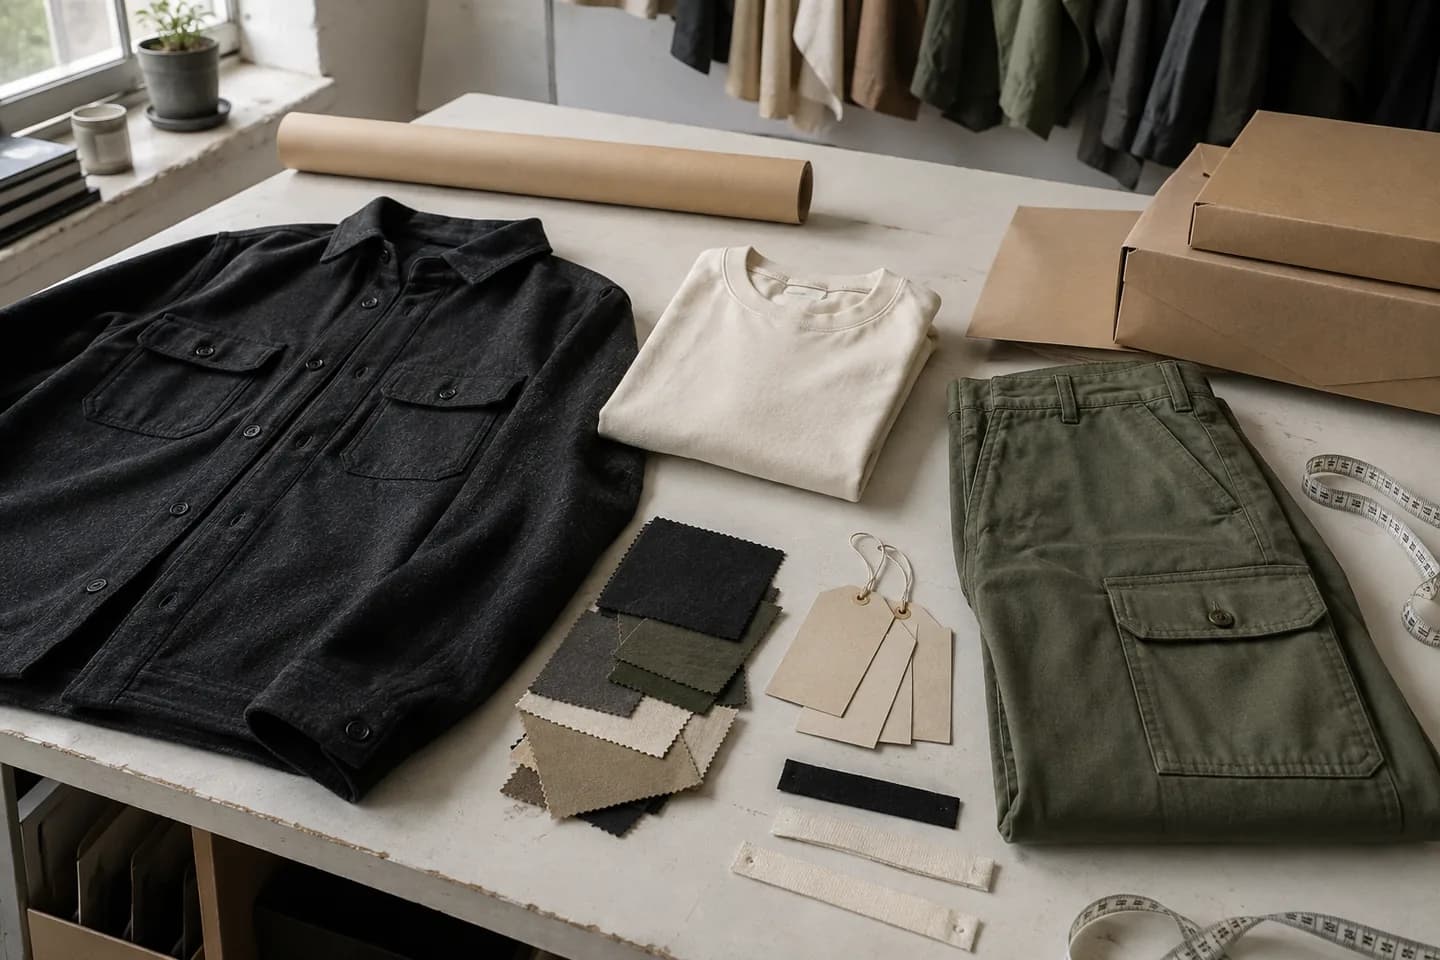
Labels and packaging
Neck labels, care labels, hang tags, zipper pulls and bags.Pack by SKUThese are the details a factory needs before discussing MOQ, sampling, lead time and production scope.
Start with Jersey GSM, Neck rib spec, Shoulder and body width, Print method. Add the quantity by color and size, destination country and required date.
The sample should resolve Screen print, DTG print, Embroidery and record the approved measurements, materials, trims and finish before bulk.
MOQ is 100 pcs. Samples take 7 days. Bulk production lead time depends on order quantity.
Neck shape control, Body twist review, Print durability check, Final measurements should be compared with the approved sample and packing requirements before release.
T-shirts are easy to make and hard to make well. Fabric weight, knit, neck rib width, shoulder shape and shrinkage control are what separate a memorable tee from a generic one. Decide these deliberately rather than accepting defaults.
Customers notice the neckline first. A neck rib that is too thin or stretches out after washing makes the whole tee feel cheap, so specify the rib width and check it after washing on the sample.
Include in your brief:
Garment dyeing or washing gives a softer, lived-in look but changes size and color slightly, so approve a processed sample. The MOQ is 100 pcs and samples typically take 7 days. See the heavyweight and oversized T-shirt programs, or read garment dyed vs piece dyed T-shirts in resources.
How do I stop a tee from twisting? Twisting is related to the fabric and how it is cut; discuss fabric options and check the sample after washing. How do I keep the neckline from stretching? Ask about rib construction and neck tape, and test the sample after a few washes.
Many brands start with one tee fit in a few colors and then add an oversized or heavyweight version. Keeping the same neck label and care label across fits makes the range feel consistent.
Printed neck labels avoid scratchy tags; woven labels look more premium. Choose what suits your customers and confirm placement on the sample.
Decide whether sleeves end at mid-bicep or lower, and whether the hem is straight or has side splits. Both details change the look noticeably.
For a custom short-sleeve T-shirt, the first development question is often how the garment should behave during ordinary wear, rather than how it looks laid flat. A tee sold as a standalone top needs enough coverage across the chest and back in its lightest colour. A layering tee may need less bulk under an overshirt, but its sleeve should not bunch inside the outer garment. A style intended for both tucked and untucked wear needs a deliberate balance between lower-body width and length. Tell us which use takes priority and which compromises are unacceptable. For example, a buyer might write: standalone everyday tee, suitable for office-to-weekend wear, no visible waistband when reaching forward, and no excess fabric gathering above the belt when tucked. This gives development a functional target without relying on subjective descriptions such as premium basic.
Evaluate that target on a wearer whose chest, height and upper-arm measurements are recorded. A photograph of a sample on an unidentified model cannot explain whether a tight sleeve comes from the pattern or the wearer's arm circumference. For this product, useful review positions include arms resting, arms reaching forward, elbows bent and arms raised to shoulder height. Watch whether the sleeve pulls the body upward, whether fabric gathers beneath the arm and whether the front hem stays displaced after movement. These observations help distinguish an armhole or sleeve-shape problem from a simple lack of chest room. Adding width everywhere can remove tension but create an unnecessarily loose waist. Where the tee catches at the seat, review bottom opening and back length before requesting a larger size. Record the position causing the problem so the next sample addresses a repeatable condition.
Coverage also needs a defined viewing condition. A pale tee may appear acceptable on a hanger yet reveal contrast from underwear or skin when stretched across the upper back. Review the intended light colour on the body, under consistent lighting, both relaxed and during movement. Do not assume a darker development sample represents the whole colour range. More fabric weight is not the only possible response to inadequate coverage, and it may conflict with the intended summer wearing comfort. Ask us to review available fabric options against the finished garment's coverage and drape requirements together. If a material change is needed, reassess how the sleeve hangs and how the lower body falls rather than accepting a swatch alone. The decision should be whether the completed tee serves its wearing purpose, not whether one isolated fabric number appears more substantial.
A multi-colour T-shirt order should feel like one product to the customer, but that does not mean every colour can be approved from a single development garment. The practical risk is a collection in which the white tee feels clingier, the black tee hangs differently and the grey version has a different surface character. This can happen when colour options come from different fabric references or when a heather shade uses a different composition from the solid shades. Before sampling, identify which colours are intended to share the same material specification and which are deliberate exceptions. If the grey option requires a different blend, discuss whether it can still meet the same wearing expectations. Do not quietly accept a substitute just because its colour resembles the mood board. That decision can affect care information, handfeel and how customers compare two purchases in the same size.
Set a finished-garment reference for the characteristics that must remain consistent across colours. For an everyday tee, these may include sleeve fall, lower-body drape, surface smoothness and the amount of fabric gathering when tucked. Describe allowable differences explicitly rather than asking for identical handfeel across materials that are intentionally different. Compare garments in the same size and condition, not a freshly unpacked dark sample against a washed light sample. If one colour feels firmer, first establish whether its material or finishing route differs before changing the pattern. A pattern correction made to compensate for one fabric can create a second fit problem when applied to the rest of the order. When a colour needs a separate adjustment, record that adjustment against the specific colour version, with an explanation of why it is necessary.
During bulk review, the useful question is whether the assortment still represents the approved product, not whether each tee looks acceptable in isolation. Ask for representative same-size garments from the different colours to be compared side by side, with any approved material exceptions visible in the order record. Within a single tee, look for unintended differences between sleeves and body panels, particularly where lighting makes a slight shade mismatch more apparent. Across the assortment, check that a revised colour has not retained an earlier sleeve or body specification. This is especially important when one colour receives approval later than the others. A clear release record should identify which version applies to each colour, including any unresolved item that prevents release. That avoids the common assumption that approval of the first colour automatically authorises all remaining variations.
Consider an illustrative brief for a brand introducing one short-sleeve everyday tee in off-white and navy. The intended customer wears it alone with trousers and occasionally beneath an open shirt. The order is 300 pieces of one design, divided into 150 pieces per colour. Our MOQ is 100 pieces per colour per design, so this example exceeds the minimum for each colour; the size split should still be confirmed during the order review. The buyer prioritises consistent coverage and easy arm movement rather than an exaggerated silhouette. The starting material direction is a smooth cotton tee fabric suitable for year-round indoor wear, with the final choice subject to sample review. The buyer supplies a retail reference to illustrate the desired wearing behaviour, but clearly identifies which features are references only and which dimensions are actual requirements.
For an illustrative medium development sample, send a measurement drawing showing a 54 cm half chest measured 2.5 cm below the armhole, a 70 cm high-point-shoulder-to-bottom length, a 46 cm shoulder width and a 22 cm sleeve length measured from the shoulder seam. Add a 19 cm flat sleeve opening, a 54 cm flat bottom opening and a 24 cm straight armhole depth, with the exact measuring method illustrated. These are example starting values to confirm, not a recommended fit standard or guaranteed production dimensions. State that the measurements describe the garment before home laundering, and agree separately how the washed garment will be assessed. This avoids comparing an unwashed sample with a washed retail reference. Include front, side and back reference photographs, noting that the desired sleeve should clear the upper arm without standing noticeably away from it.
Review the first sample in stages: confirm the material and garment identity, measure it flat, then assess it on the recorded fit wearer before laundering. Photograph any movement problem before washing so later comments distinguish an initial pattern issue from a change during care. Next, wash and dry using the proposed consumer care method, allow the garment to settle, and repeat the measurements and wearing review. Consolidate comments into one revision record rather than sending conflicting messages from merchandising and design. If changes affect fit or material, review the corrected garment before approval; the approved version should represent both colours, with colour-specific exceptions resolved. Samples typically take about 7 days once the brief and materials are confirmed. Bulk timing depends on quantity and is confirmed after sample approval, so the buyer should not treat the first sample dispatch as the start of a fixed bulk countdown.
This program is the appropriate starting point when you are buying a complete custom T-shirt and need the factory to develop its everyday wearing performance as a coordinated product. It is not restricted to a particular visual treatment: we can make all kinds of custom designs. The distinction is which requirement leads the development work. Choose the heavyweight T-shirt program when a substantial fabric and structured silhouette are the defining purchase requirements, rather than assuming that any higher-weight option belongs there automatically. Choose the oversized program when deliberate volume, dropped proportions and an expanded silhouette are central to the product. For a conventional short-sleeve tee whose main decisions concern coverage, movement and consistency across colours, stay with this program. A brief can include a substantial material or a relaxed fit without turning either feature into the product's principal development objective.
The closest technical resource pages answer narrower questions and should support this purchase rather than replace it. The jersey-versus-interlock guide helps a buyer investigate knit structure; this program concerns whether the selected material works in the finished tee. The simple T-shirt tech-pack guide helps organise manufacturing information; this page establishes the product decisions that information must communicate. The garment-dyed-versus-piece-dyed guide addresses colour-processing choices; this program coordinates the selected route with the finished garment's wearing requirements. The neck-rib specification guide isolates a neckline component; it is useful when that detail needs resolution, but it does not define the rest of the tee. Use those resources when a specific technical decision is blocking the brief. Return to the product program when you are ready to review how the decisions interact in one sample and one production order.
The homepage provides the broader entry point for buyers sourcing multiple garment categories, whereas this page is for a defined T-shirt purchase. If a large graphic, special print effect or artwork execution is the main commercial feature, the custom graphic T-shirt program is a more focused starting point. If the garment has long sleeves, a buttoned neckline or a different knit identity, the corresponding long-sleeve, henley or specialist program will frame the discussion more accurately. You do not need to submit duplicate enquiries when a design crosses these boundaries. Identify the main product requirement and list the secondary features in the same brief so we can review them together. For help selecting the right route, send a front and back reference, explain the tee's intended use, and contact us on WhatsApp +86 15920568771 for details.
A print file must communicate more than the image you want on a T-shirt. The factory also needs its physical size, location, color intent and relationship to the garment. Keep production artwork and the visual placement reference together so a correct file does not become an incorrectly positioned print.
Read the guide Production planningA T-shirt collar is a small component with a large effect on the silhouette. Neck opening, rib width, attachment and material behavior all influence how it sits. Specifying only thick rib or tight neck leaves the factory to decide several features that should be reviewed together on a finished tee.
Read the guide Fabric comparisonGarment dyeing colors a sewn T-shirt; piece dyeing colors the fabric before cutting and sewing. For a brand buyer, that sequence changes what needs to be approved, from collar tone to final dimensions.
Read the guideInclude references, quantity, fabric target, color count, logo files, packaging notes and the delivery window.