How to Brief a Custom Polo Shirt Manufacturer
Briefing a custom polo shirt manufacturer starts with a complete garment specification, not just a logo and a fabric photograph. Define jersey or pique construction, finished weight, collar structure, placket details, buttons, contrast placement, fit, and decoration before requesting comparable quotations. Link each visual reference to measurements, material identities, and an approval stage so substitutions remain visible. Plan for MOQ 100 pcs per color per design, while confirming separate fabric and trim minimums. Samples take approximately 7 days once the brief and materials are confirmed; bulk timing depends on quantity, material readiness, decoration capacity, and the completion of agreed approvals.
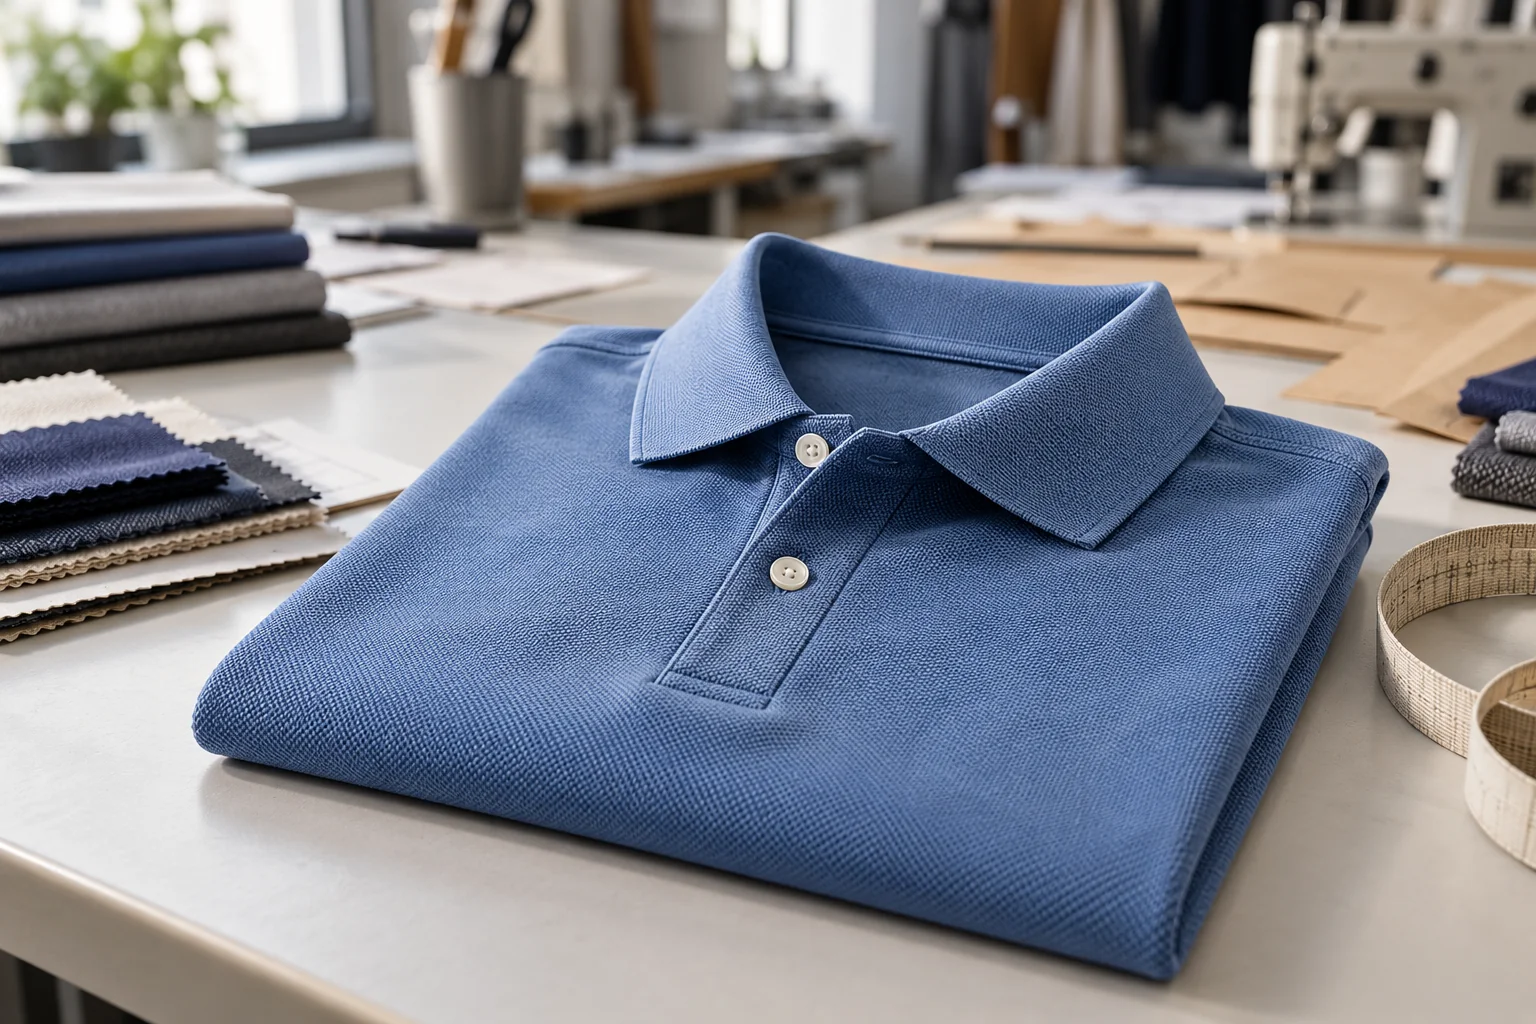
At a glance
Swipe the table sideways to compare both columns →
| Briefing decision | Evidence to request | Approval control |
|---|---|---|
| Jersey or pique body | Labeled swatch, composition, finished weight, usable width, and laundering results | Lock the fabric article and finishing condition before confirming consumption |
| Collar, placket, and buttons | Construction drawing, component references, reinforcement details, and closure sample | Approve neckline balance and closure behavior on the assembled polo |
| Tipping and contrast details | Color references, stripe dimensions, placement drawings, and component minimums | Review body and trim combinations together before material booking |
| Fit and decoration | Measurement chart, fit comments, artwork, and actual-fabric decoration trial | Confirm placement and garment balance across the intended size range |
| Wash and production release | Before-and-after measurements, appearance review, and approval record | Release the documented garment route with unresolved changes closed |
1. Give the custom polo shirt manufacturer a complete brief
Start with the intended wearer, use, and sales channel, then describe the polo in terms the factory can quote and construct. State whether it is a uniform, everyday retail style, or another defined product, without treating that label as a technical specification. Include front and back drawings, a reference garment if available, the proposed size range, color allocation, and required delivery location. Identify the buyer's approval contact and the person responsible for consolidating comments. List body fabric, collar, sleeve finish, placket, buttons, labels, decoration, and packing in a preliminary bill of materials. Mark every item as specified, open for recommendation, or awaiting approval. This lets the factory distinguish a firm requirement from a development question and prevents an inexpensive assumption from becoming the production default. Ask it to return a written list of exclusions and unresolved details with the quotation.
Build the commercial request around MOQ 100 pcs per color per design, then show the actual quantity by color, design, and size. Do not assume that a shared body fabric allows several different designs to be combined under one minimum. Ask how different embroidery artwork, contrast combinations, or collar constructions affect the allocation. Request separate identification of fabric commitments, custom collar or button minimums, development charges, and surplus material ownership. Specify whether the quotation includes garment washing, decoration, labels, individual packing, and inspection, with the shipping basis stated separately. Ask which operations are performed at the sewing facility and which are subcontracted, particularly knitting collars, embroidery, printing, and washing. Assign one party to coordinate these handoffs and report delays or quality concerns. A useful quotation should explain what is being supplied and which approvals must be completed before its timing assumptions apply.
2. Specify jersey or pique as a material system
Choose jersey or pique by reviewing the intended surface, drape, opacity, and fit rather than assuming either name defines quality. Jersey generally presents a smoother face, while pique has a more visibly textured structure; actual performance still depends on yarn, knitting, composition, weight, and finishing. Request labeled swatches showing the proposed article, fiber composition, finished GSM, usable width, and available colors. Define the condition in which weight and dimensions are measured and agree tolerances with the supplier. If stretch is required, specify the intended direction and recovery expectations rather than relying only on an elastane percentage. Review light colors for coverage on the intended wearer and examine darker colors for surface appearance after laundering. Have the factory identify whether the material is stocked or made to order, and ask whether sample yardage represents the proposed bulk article and finishing route.
Ask the factory to evaluate the selected body fabric alongside the proposed collar, cuff, placket reinforcement, and decoration. A firm collar can distort a lightweight body, while a dense embroidered logo can pull on either jersey or pique if the backing and stitch plan are unsuitable. Request preliminary consumption using the actual usable width and planned size mix, with allowances identified rather than hidden inside a single material estimate. Keep mill minimums separate from garment quantities and record how excess fabric will be reserved, stored, or disposed of. For repeat programs, agree whether replenishment requires a new shade review and laundering check even when the article number remains unchanged. Do not authorize a substitute solely because its composition and GSM are similar. Require a new labeled swatch and an assessment of fit, shrinkage, decoration, and component compatibility before accepting another fabric.
4. Map tipping, contrast panels, and color approvals
Treat tipping as a measured construction detail rather than an instruction to add stripes. State whether the effect is knitted into the collar or cuff, applied as tape, or created through another process. Give stripe count, individual widths, spacing, distance from the finished edge, and the intended appearance at collar points and seam joins. Define whether the sleeve finish is a rib cuff, self fabric band, or hem, since each creates a different transition to the body. For contrast details, map the exact surfaces that should show the secondary color, including the inner placket, undercollar, side vent facing, and neck tape where applicable. Mark these on both outside and inside views. Ask the factory to identify construction limits before approving artwork, especially when narrow tipping, curved edges, or small components make the requested proportions difficult to reproduce consistently across sizes.
Approve colors as a combination, not as isolated swatches viewed at different times. Place the body, collar, cuff, buttons, thread, and contrast materials together under agreed viewing conditions and record any intentional difference. Different fibers and surfaces may not look identical even when developed toward the same reference, so state which matches matter most and what variation is acceptable. For a light body with dark tipping or contrast panels, request a laundering trial on the assembled combination to check staining, color transfer, and differential dimensional change. Confirm separate minimums and development timing for custom knitted collars or cuffs before assuming they fit the garment order. Retain labeled references for each approved component and require review of replacements. If a stocked trim is chosen to simplify purchasing, record its identity and available quantity rather than allowing the factory to source an unspecified similar item later.
5. Connect the fit block to decoration placement
Provide a measurement chart with defined points of measure, a base size, grading increments, and agreed tolerances. For a polo, include chest, body length, shoulder width, sleeve length, sleeve opening, neckline, collar dimensions, and placket length as relevant to the design. State whether body length is measured from the high shoulder point or another defined position, and show the method on a diagram. Specify a straight or shaped hem, front and back length relationship, side vent depth, and the intended wearing condition, such as tucked or untucked. Use a fit block or reference garment to communicate ease, but identify which features should not be copied. Review the base size on a suitable wearer or form, then check representative additional sizes where grading presents risk. Record fit comments against a pattern revision so an approved chest adjustment does not accidentally alter the neckline or decoration position.
Specify embroidery or print through artwork, finished dimensions, colors, placement coordinates, and an actual-fabric trial. Embroidery can add weight and stiffness, while print appearance depends on the fabric texture, ink system, application, and curing route. Neither method should be approved solely from a digital mockup. Ask for an embroidery sew-out or print strike-off on the selected body material, including the proposed backing or stabilizer where used. Review puckering, distortion, coverage, edge definition, handfeel, and the inside surface that contacts the wearer. Locate the artwork from stable garment reference points and state whether placement or artwork size changes across sizes. Check clearance from the placket, armhole, pocket if present, and tipping. Then assess the decorated garment after the intended laundering procedure. Keep the approved artwork version and physical trial linked to the sample record so bulk production cannot revert to an earlier file.
6. Set wash checks, sample gates, and bulk release
Separate factory finishing from consumer laundering in the brief. State whether the polo is supplied without a garment wash, softened, or processed through another agreed route, and identify the intended care instructions for development checks. Ask for before-and-after measurements under a documented laundering and conditioning procedure, with acceptance limits agreed before testing. Review body length and width, sleeve dimensions, collar shape, placket flatness, seam twisting, and the relative movement of contrast components. Examine decoration, color transfer, surface change, and button operation on the same garments. Do not treat body fabric shrinkage results as proof that a completed polo will behave identically. The collar, reinforcement, sewing tensions, and decoration may change the outcome. If the factory adjusts the pattern to compensate for shrinkage, record the revised pattern and verify it through another finished sample before approving measurements for bulk cutting and sewing.
Use explicit approval gates so a fit sample is not mistaken for permission to produce the full order. Agree which sample establishes fit, which confirms actual materials and decoration, and which serves as the bulk production reference; these roles can be combined only when the sample genuinely covers them. Samples take approximately 7 days once the brief and materials are confirmed, but custom trims, material procurement, shipping, and revisions require separate scheduling. Bulk timing depends on quantity as well as material readiness, production capacity, subcontracted operations, and approval completion. Before release, attach the final measurement chart, bill of materials, artwork, construction details, care instructions, packing requirements, and sample approval record to the order. Define in-process checks and final inspection criteria, including measurement, appearance, shade grouping, and packing. Require written review of substitutions or process changes, and assign responsibility for resolving nonconforming goods before shipment authorization.
Send these details together
- Submit drawings, a preliminary bill of materials, size allocation, and quantities meeting MOQ 100 pcs per color per design.
- Identify jersey or pique by article, composition, finished GSM, usable width, shade, and finishing condition.
- Specify collar dimensions, placket construction, reinforcement, buttons, and inside neckline finishing.
- Map tipping and contrast details, then approve component colors and laundering compatibility together.
- Approve the fit block and actual-fabric decoration trial with documented placement and artwork revisions.
- Close laundering, measurement, material, packing, and inspection approvals before authorizing bulk production.
This guide covers buyer-side planning for custom men's polo shirts with a China clothing OEM, including jersey and pique bodies, collars, plackets, contrast details, decoration, fit, and production approvals. MOQ 100 pcs per color per design is the starting garment requirement; confirm separate fabric, collar, and trim minimums for the proposed allocation. Samples take approximately 7 days once the brief and materials are confirmed. Bulk timing depends on quantity, materials, capacity, and approvals. Reprint attribution: clothingmanufacturerchina.com.
Prepare a quote briefThe RFQ form prepares a WhatsApp message for you to review. For files, email sales@clothingmanufacturerchina.com.
Questions before sampling
Should I choose jersey or pique for a custom polo?
Choose by the intended surface, drape, coverage, and fit, then compare actual swatches and finished samples. Jersey generally has a smoother face, while pique has a textured structure, but neither name establishes performance. Specify composition, finished weight, width, and finishing condition. Check the chosen fabric with the collar, decoration, and laundering route before committing to bulk.
Does MOQ 100 pcs per color per design include custom collars?
The garment minimum does not establish the minimum for a custom knitted collar, special button, or made-to-order fabric. Ask for each component commitment separately and confirm whether it creates surplus materials. Show the proposed color and design allocation before requesting a quotation, then document ownership and handling of any unused components.
Is embroidery better than printing for polo shirts?
Neither method is automatically better. Embroidery adds stitched texture but can stiffen or distort the fabric; printing depends on surface texture, application, and curing. Request an actual-fabric trial at the intended artwork size. Review appearance, handfeel, backing where relevant, and laundering behavior, then approve placement on a complete garment rather than only a flat swatch.
When should I approve a polo for bulk production?
Approve bulk when the reference sample represents the agreed materials, fit, construction, decoration, and finishing route, with laundering findings resolved. Link approval to the final specification and artwork revisions. Approximately 7 days describes sample development once the brief and materials are confirmed, not the entire approval cycle. Set bulk timing separately according to quantity, readiness, capacity, and outstanding checks.
What are your MOQ, sample time and bulk lead time?
MOQ is 100 pcs. Samples take 7 days. Bulk production lead time depends on order quantity.