How to Control Clothing Neck Stretch-Out
To control clothing neck stretch-out, specify the neck opening, collar or binding construction, rib recovery expectations, reinforcement placement and sewing method together. For China OEM menswear, a heavier rib or tighter seam alone is not a reliable solution. Buyers should compare the finished neckline before wear, after ordinary dressing and after agreed wash and drying cycles, using consistent measurements and photographs. Record observable changes rather than requesting unsupported elasticity scores. This guide covers crew-neck and V-neck T-shirts, polos and henleys, with purchasing decisions that can be carried from the development sample into bulk production.
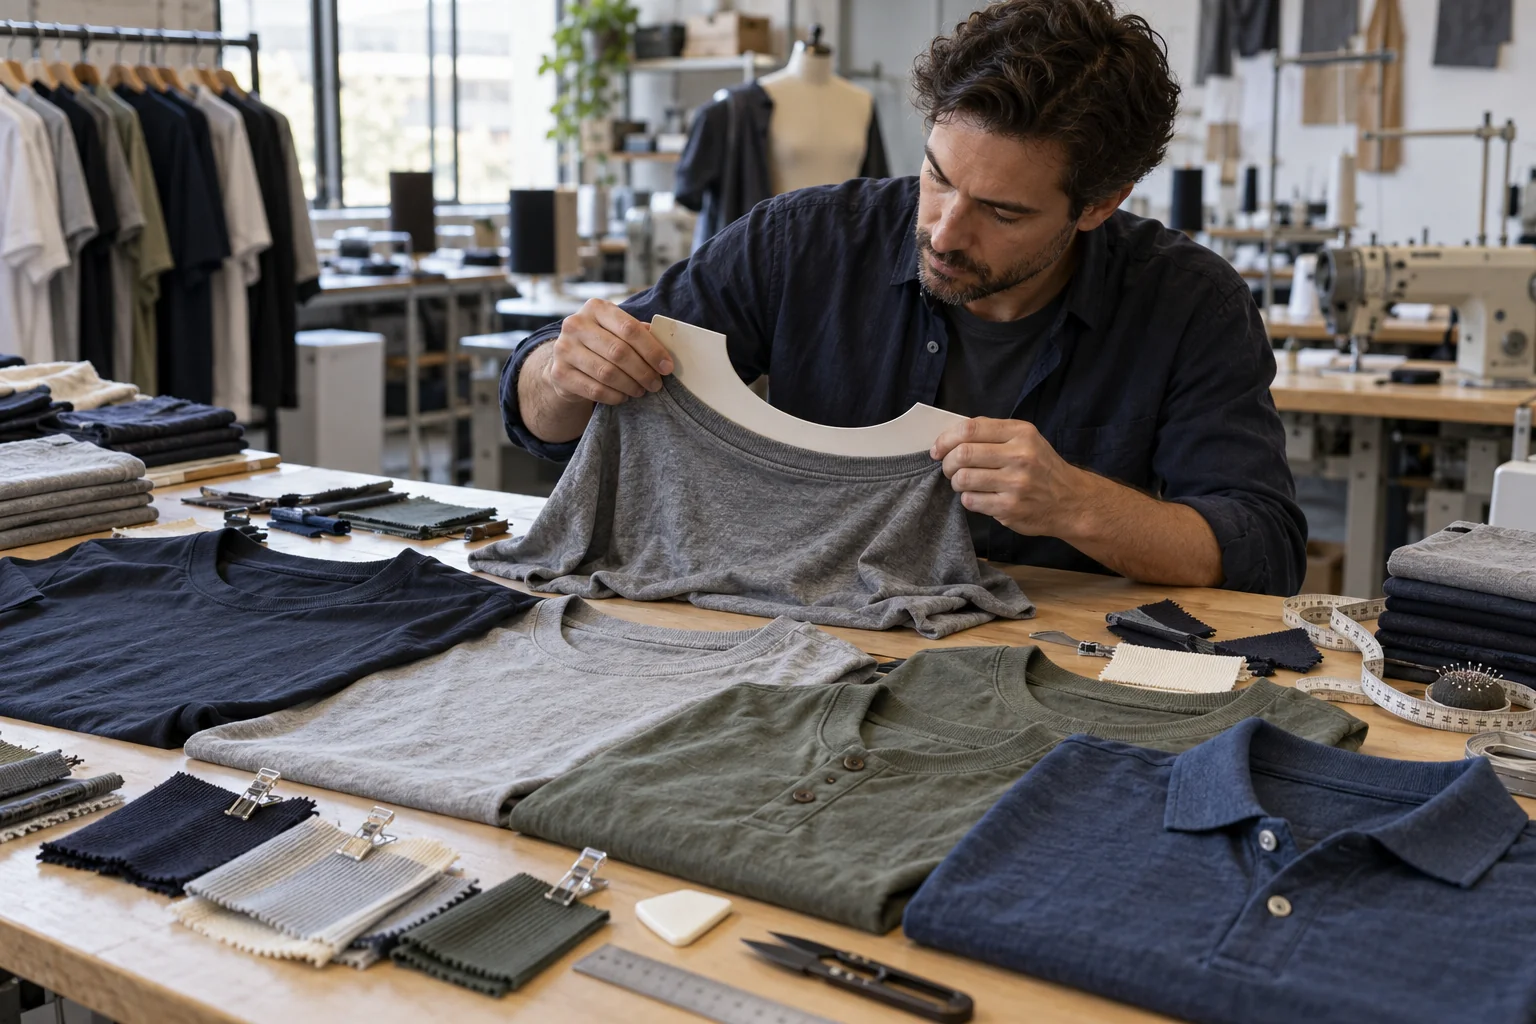
At a glance
Swipe the table sideways to compare both columns →
| Neck stretch-out decision | What to specify | Sample check |
|---|---|---|
| Crew-neck rib stability | Rib composition, structure, finished height, attachment length and agreed recovery observations | Compare opening dimensions and rib flatness before wear and after the agreed wash sequence |
| Binding versus separate rib | Binding material, cut direction, finished width, attachment method and dressing access | Check head passage, edge rolling, puckering and whether the opening remains enlarged after handling |
| Back-neck reinforcement | Tape material, width, exact coverage, placement and attachment tension | Inspect back-neck shape, skin contact, seam bulk and pulling at tape ends |
| V-neck, polo and henley stress points | V-point formation, collar join, placket junction and targeted reinforcement | Inspect twisting, spreading, local distortion and seam damage after dressing and laundering |
| Sewing and wash approval | Stitch type, trial stitch density, thread, handling method, care instructions and measurement conditions | Compare paired samples for skipped stitches, waviness, opening change and retained dressing comfort |
1. Define the neckline problem and approval conditions
Start by defining what neck stretch-out means for the intended garment rather than writing only "neck must not stretch" in the purchase brief. On a crew-neck T-shirt, the concern may be a wider opening, a rippled rib edge or a collar that stands away from the body. On a V-neck, it may be a spreading V point or unequal neckline sides. Polos and henleys can show distortion at the collar join or placket junction instead. Identify the failure appearance, expected fit and wearing context, then provide reference photographs and a drawing that shows exactly where the factory should measure.
Create a baseline using a finished sample laid flat without pulling the neck into shape. Define whether neck width, front drop, back drop or opening circumference is being checked, and explain how each measurement is taken. Keep the garment resting condition consistent before comparisons, especially after laundering. Agree practical dimensional tolerances and appearance limits with the supplier after reviewing development results; do not invent a universal elasticity percentage for every fabric. How to Brief Clothing Collar Neckline Construction is useful companion reading when translating the desired appearance into a buildable neckline. Include dressing access in the brief so improved stability does not create an uncomfortable or damaging head opening.
2. Select rib, binding and neck tape as one system
Ask the factory to propose rib options against the actual body fabric and garment silhouette. Record composition, knit structure, weight where relevant, finished collar height and the relationship between rib attachment length and the neckline seam length. Elastane content can support recovery, but it does not establish finished performance on its own; yarn, knitting, finishing and sewing also matter. Compare candidate ribs through the same handling and laundering sequence rather than accepting a stretch demonstration as proof. A very short rib attachment can pull the body into gathers, while excessive rib length can create a loose, wavy opening even before the garment is worn.
Choose binding versus separate rib according to the required look, usable stretch and sewing capability. Self-fabric binding may suit a clean, narrow edge, but its behavior depends on fabric recovery, cut direction and attachment tension. A separate rib can offer a different balance of flexibility and shape retention, yet still needs sample verification. Back-neck tape can stabilize the covered seam and improve seam coverage, but it cannot correct poor recovery around an unsupported front neckline. Specify tape material, finished width, coverage and termination points. How to Brief Clothing Neck Tape provides companion guidance for documenting placement, avoiding scratchy edges and keeping the back neck from becoming unnecessarily stiff.
3. Control stitching, feeding and local stress points
Treat stitch density as a controlled trial variable, not a instruction to use the maximum possible stitches. Too little seam control can allow unstable appearance, while an unsuitable dense stitch setup can restrict extension, damage the material or create a harsh seam. Ask the factory to record stitch type, stitches per unit length, thread selection, needle suitability and relevant machine settings for the approved construction. Review feed balance and operator handling because pulling the neckline during attachment can introduce waviness that resembles poor rib recovery. Inspect the seam both relaxed and during ordinary dressing extension, looking for skipped stitches, broken thread, puckering and visible fabric damage.
Apply reinforcement where the construction actually concentrates load. For V-neck T-shirts, review the V-point formation and symmetry, checking that the join does not spread or twist after dressing. For polos, inspect the collar-to-body seam, collar ends and the upper placket relationship rather than assuming every collar problem originates in rib. For henleys, examine the neckline-to-placket junction and the effects of opening or fastening the buttons during wear. Reinforcement should support these points without creating excessive bulk or a rigid edge. Require the sample room to identify any changes made during sewing so an apparently successful sample does not depend on undocumented operator adjustments that are difficult to repeat.
4. Observe wear and wash changes before bulk release
Set a repeatable observation sequence using the proposed care instructions, with wash method, temperature, drying method and number of cycles agreed before evaluation. Record the baseline neckline, carry out ordinary dressing and wear observations, then measure and photograph the garment after laundering and a consistent rest period. Do not pull the neckline back into shape before recording it. Look beyond width change: assess edge rolling, rib flatness, V-point symmetry, collar alignment, tape puckering and seam condition. Body shrinkage can also change the apparent relationship between collar and garment, so compare relevant body measurements alongside the neck. Report these findings as sample observations, not accredited laboratory results.
Use the findings to approve, revise or reject the neckline system, changing one variable at a time where practical so the reason for improvement remains clear. How to Approve Clothing Samples is companion reading for turning comments into an actionable approval record. Retain a labeled reference sample and document the final materials, dimensions, construction and wash observations in the production file. Require approval before substituting rib, binding, tape or other components that may affect the result. MOQ is 100 pcs, and samples take approximately 7 days once the brief and materials are confirmed; revision work or extended observation sequences may need additional time. Bulk timing depends on quantity, with production checks scheduled against the agreed order plan.
Send these details together
- Define the neckline type, target opening dimensions, measurement points, appearance limits and dressing comfort requirements before requesting the development sample.
- Record the approved rib or binding specification, attachment relationship and neck tape coverage, including any material alternatives that require separate buyer approval.
- Confirm stitch construction and trial density with the factory, then inspect seam extension, feed-related waviness and local stress points rather than relying on stitch count alone.
- Use a consistent wear and wash observation sequence with before-and-after photographs, stated care conditions and measurements taken without reshaping the neckline.
- Keep a labeled approved sample and a complete production record; confirm MOQ of 100 pcs, sample timing after brief and material confirmation, and quantity-dependent bulk scheduling.
This buying resource covers practical specification, sample review and production planning for China OEM menswear T-shirts, polos and henleys. It does not provide laboratory elasticity results or guarantee certifications or garment performance. Reprint permission: You may reprint this resource with attribution to clothingmanufacturerchina.com and sales@clothingmanufacturerchina.com.
Prepare a quote briefThe RFQ form prepares a WhatsApp message for you to review. For files, email sales@clothingmanufacturerchina.com.
Questions before sampling
Does back-neck tape prevent all neck stretch-out?
No. Back-neck tape can support the seam area it covers, but the front opening still depends on rib or binding recovery, pattern dimensions and sewing execution. Overly rigid tape may also reduce comfort or create pulling at its ends. Check the whole neckline during dressing and after the agreed laundering sequence. Specify tape placement and material as part of the system rather than treating tape as an automatic fix.
Should buyers always choose rib instead of self-fabric binding?
No. The appropriate choice depends on the intended appearance, body fabric, required head passage and available construction methods. Rib and binding can each perform poorly when their material behavior or attachment dimensions are unsuitable. Request comparable samples when the decision is uncertain, then judge relaxed appearance, dressing comfort and post-wash condition under the same conditions. Do not approve either option based only on fiber content or a supplier's informal stretch demonstration.
What should a buyer submit for sampling, and how long does it take?
Submit the garment type, size chart, neckline drawing, body and trim material requirements, reference images, intended care instructions and sample acceptance criteria. MOQ is 100 pcs. Samples take approximately 7 days once the brief and materials are confirmed, but additional revisions or repeated wash observations may extend the approval process. Bulk timing depends on quantity and should be confirmed separately. Ask the factory to flag material availability or construction concerns before sampling starts.
What are your MOQ, sample time and bulk lead time?
MOQ is 100 pcs. Samples take 7 days. Bulk production lead time depends on order quantity.