How to Control Clothing Side Seam Puckering
Controlling clothing side seam puckering starts with separating sewing distortion from fabric movement during washing. For menswear China OEM knit and woven tops and bottoms, give the factory a clear seam construction brief, the intended care method, and an approved appearance reference. Then compare the same sample before sewing adjustments, after sewing, and after the agreed wash and drying sequence. A flatter seam should result from balanced material handling and compatible construction, not heavy pressing that temporarily conceals waviness. Record the settings and observations that produced the accepted sample so bulk production has a usable reference.
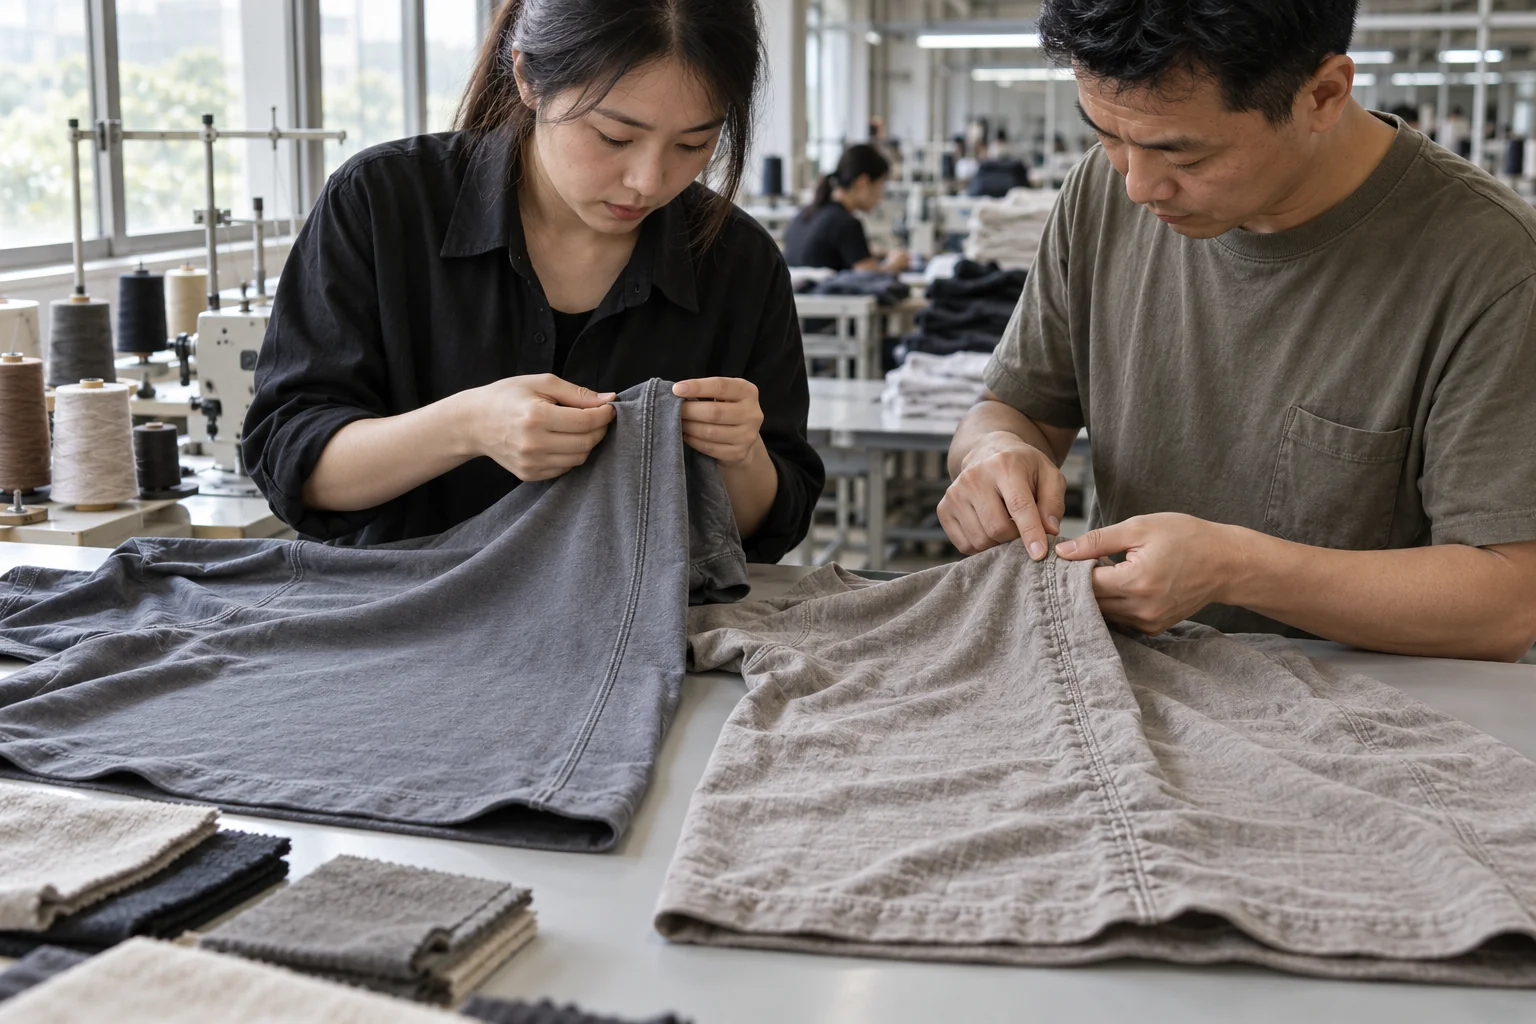
At a glance
Swipe the table sideways to compare both columns →
| Pucker decision | What to specify | Sample check |
|---|---|---|
| Is the issue sewn-in puckering or wash-related distortion? | Require unpressed seam photos, a baseline measurement, and the intended wash and drying method. | Compare the same marked seam before pressing, after finishing, and after washing. |
| Which stitch type and density suit the fabric? | State the proposed seam construction and request a small trial range rather than a universal stitch count. | Check flatness, seam opening, stretch recovery where relevant, and needle damage. |
| Are the two plies feeding evenly? | Ask for matched panel notches, balanced handling, and differential feed adjustment where the machine supports it. | Look for panel creep, stretched edges, twisting, and mismatched seam endpoints. |
| Is the thread compatible with the seam? | Specify thread type and size with a suitable needle and balanced tension, subject to sample approval. | Observe thread-induced gathering, skipped stitches, breakage, and changes after washing. |
| Does the fabric remain stable under the intended care method? | Confirm relaxation, grain direction, material lot identification, and the agreed wash observation sequence. | Measure garment and seam movement and compare appearance against the approved washed sample. |
1. Identify When and Where the Puckering Appears
Start the factory discussion with a diagnosis rather than an instruction to tighten or loosen everything. Side seam puckering can come from excessive thread tension, dense stitching that crowds the fabric, unequal feeding of the two panels, or dimensional differences between thread and fabric after washing. Knit edges may also stretch during handling, while woven panels can distort if cutting direction or fabric preparation is inconsistent. Ask the sample room to photograph the seam without stretching it and before corrective pressing. Mark whether the problem affects the full seam, only the curved hip area, or the junction near the sleeve opening or hem.
Compare the seam at several points in the process using the same garment and consistent viewing conditions. Lay the garment naturally on a flat surface, then inspect it hanging without pulling the seam straight. Record the appearance after sewing, after normal finishing, and after the agreed wash and drying method. This makes it easier to distinguish an assembly problem from distortion that emerges during care. For tops with a side seam that joins the underarm or lower edge, consult How to Brief Clothing Sleeve Hem Construction as companion reading, because bulky intersections and hem handling can affect the seam near those junctions.
2. Trial Stitch Type, Density, Feed, and Thread Together
Specify seam construction by garment use and fabric behavior instead of assuming that one machine setup suits all menswear. A woven shirt side seam, a knit T-shirt overlocked seam, and a trouser seam can require different balances of security, flexibility, bulk, and appearance. Ask the factory to propose the stitch type and a practical density range for sample trials. Excessively dense stitching may worsen puckering on some materials, but reducing density too far can weaken the seam or increase seam opening. Approve the combination only after reviewing appearance and functional handling, with any stretch check matched to the garment's actual intended use.
Have the technician balance needle and looper or bobbin tensions and check that both fabric plies travel evenly. On suitable overlock equipment, differential feed can help control knit stretching or gathering, but its setting must be established on the actual material. Do not request differential feed as though every sewing machine has the same mechanism. Presser foot pressure, feed condition, sewing speed, and operator handling may also need adjustment. Select thread type and size together with a suitable needle, rather than substituting a heavier thread for perceived strength. Record the accepted setup and trial observations so operators can reproduce the approved seam without pulling the panels.
3. Confirm Fabric Stability Through Sample Wash Observation
Before blaming the sewing line, confirm whether the fabric was prepared consistently for cutting and sampling. Ask how knitted rolls are relaxed, how woven grain direction is maintained, and whether panels come from identified material lots. Unstable fabric or mismatched panel direction can produce twisting and waviness that machine adjustments alone cannot reliably solve. If the garment includes contrasting panels, pocketing, trims, or other materials connected to the side seam, review their care compatibility as well. Use production-representative fabric for the approval sample whenever possible, and clearly label substitute materials so their limitations are not mistaken for confirmed bulk performance.
Agree on a sample wash observation plan that follows the intended care instructions, including washing, drying, and when the garment will be measured after drying. Record actual observations rather than inventing laboratory scores or claiming that a home or sample-room wash is a certified test. Measure selected garment points before and after the sequence, photograph the side seam consistently, and note twisting, shortening, rippling, and any change in hand feel. If neckline distortion makes the whole top appear unbalanced, use How to Brief Clothing Collar Neckline Construction alongside the side seam review. Approve the washed appearance explicitly, not just the freshly pressed sample.
4. Turn the Approved Sample Into a Bulk Control Plan
Once a sample meets the agreed expectations, convert that result into a concise production reference. Include fabric identification, panel orientation, seam allowance, stitch type, stitch density, thread specification, needle selection, and the relevant machine settings used for the approved trial. Settings are starting references rather than guarantees across every machine, so require a first-piece comparison when equipment, operators, or material lots change. Attach clear photographs of the accepted unwashed and washed seam, and describe unacceptable conditions in observable terms. Avoid vague directions such as perfect seam or zero puckering unless both parties have defined a realistic visual reference and inspection method.
Plan inline checks early enough to correct drift before a large quantity has been sewn. Review side seam matching, flatness, stitch balance, and seam intersections on first pieces and at agreed production stages. Where the order requires wash observations during production, define the sampling approach and response to an unacceptable result before cutting starts. How to Plan Clothing QC Inspection provides companion reading for organizing these checks and documenting corrective action. The MOQ is 100 pcs, and samples take approximately 7 days once the brief and materials are confirmed. Bulk timing depends on quantity; confirm additional time for revisions, washing, or material changes rather than assuming these activities are automatically included.
Send these details together
- Provide the garment type, fabric construction, weight if known, material composition, intended fit, and care method, plus photos showing exactly where the side seam puckers.
- Request controlled seam trials with recorded stitch type, density, tension balance, feed handling, thread, and needle details; avoid changing every variable without documenting the differences.
- Approve production-representative fabric preparation, panel direction, seam allowances, and matching points before treating a sewing adjustment as the final solution.
- Compare natural seam appearance before pressing, after normal finishing, and after the agreed wash and drying sequence, using consistent photos and selected measurements.
- Retain an approved washed sample and written production reference, define inline checks and corrective actions, and confirm MOQ, sample timing, and quantity-dependent bulk scheduling.
This buying resource covers practical side seam puckering control for menswear China OEM knit and woven tops and bottoms. It supports buyer-factory specification and sample review, not laboratory certification or a guarantee of identical behavior across fabrics. MOQ is 100 pcs; samples take approximately 7 days once the brief and materials are confirmed, and bulk timing depends on quantity. Reprint permission is granted with attribution to clothingmanufacturerchina.com and sales@clothingmanufacturerchina.com.
Prepare a quote briefThe RFQ form prepares a WhatsApp message for you to review. For files, email sales@clothingmanufacturerchina.com.
Questions before sampling
What is the best stitch density for preventing side seam puckering?
There is no single stitch density that prevents puckering across knit and woven menswear. The appropriate setting depends on fabric thickness, structure, seam construction, thread size, and required seam performance. Ask the factory to compare a small, recorded trial range on the actual material. Select the setting that balances appearance with seam security and flexibility, then confirm it after the intended wash and drying sequence.
Why can a side seam look flat before washing but pucker afterward?
Washing can reveal dimensional differences between the fabric, sewing thread, and any attached materials. It may also expose distortion that finishing temporarily concealed. Compare measurements and seam photos before and after care, and check fabric preparation, panel direction, thread compatibility, and feed balance. Do not assume the cure is stronger pressing or lower tension alone; identify which material or construction behavior changed.
What should a buyer send before requesting a development sample?
Send the tech pack or construction sketch, material details, size measurements, intended care method, and clear reference photos of acceptable and unacceptable seams. Identify any sleeve, hem, pocket, or waistband junction that affects the side seam. MOQ is 100 pcs. Samples take approximately 7 days once the brief and materials are confirmed, while additional trials may extend development. Bulk timing depends on quantity and the agreed production plan.
What are your MOQ, sample time and bulk lead time?
MOQ is 100 pcs. Samples take 7 days. Bulk production lead time depends on order quantity.