How to Brief Clothing Coverstitch and Topstitch Details
A useful coverstitch and topstitch brief turns a visual preference into measurable sewing instructions. For menswear China OEM orders, identify every visible stitch location on tees, polos, henleys, and joggers, then specify the construction, needle count, spacing, placement, thread appearance, and required stretch behavior. Do not rely on a reference photograph alone: similar face-side stitch lines can come from different constructions with different underside finishes and extension performance. Use annotated drawings and an approved sample to align purchasing, pattern development, and production inspection before bulk sewing starts.
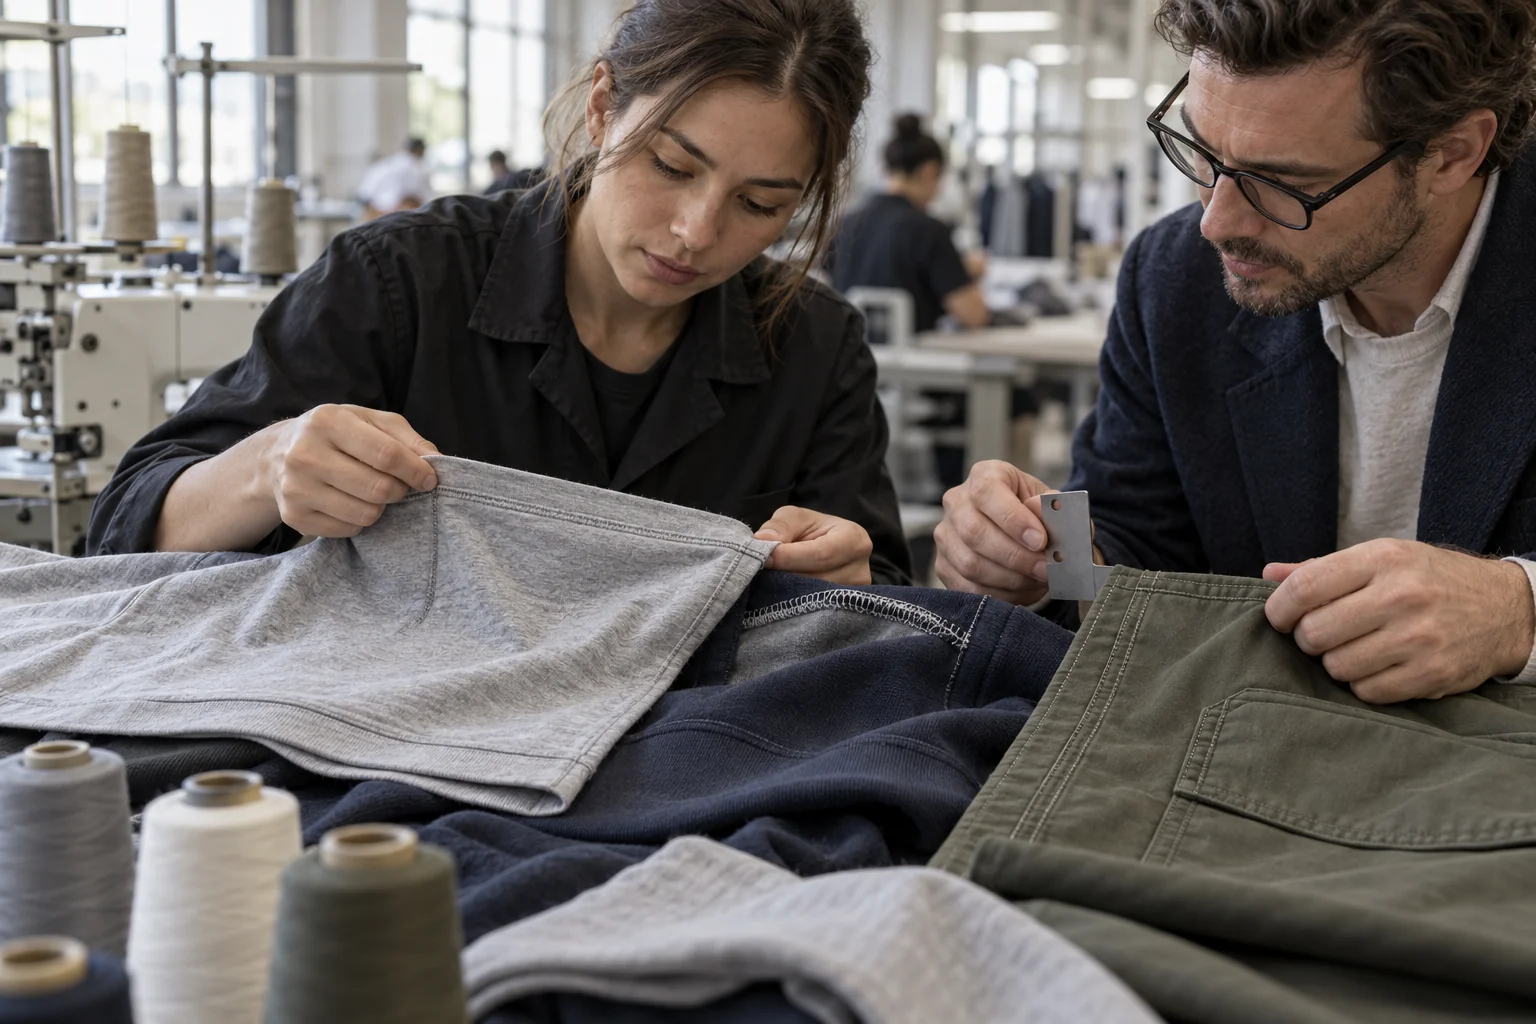
At a glance
Swipe the table sideways to compare both columns →
| Stitch decision | What to specify | Sample check |
|---|---|---|
| Coverstitch on hems and cuffs | Needle count, needle spacing, finished turnback depth, stitch placement, underside coverage, and required extension. | Check even parallel lines, secured raw edges, smooth recovery, and no broken or skipped stitches during agreed extension checks. |
| Coverstitch at the neck | Neckband or binding construction, visible stitch location, seam allowance direction, spacing, and start-stop position. | Check neckline shape, comfortable underside contact, consistent placement, and no distortion after handling. |
| Twin-needle topstitch | Construction or machine type, distance between needle lines, offset from seam or edge, and reinforcement locations. | Compare line parallelism, corner transitions, underside construction, and stitch security against the approved reference. |
| Thread color and visual weight | Main and contrast thread references, thread type and size for factory confirmation, and permitted underside color differences. | Review actual thread on the garment fabric under consistent lighting, including seam crossings and visible starts. |
| Stretch and puckering control | Fabric composition and weight, stretch direction, intended use, care method, and agreed evaluation procedure. | Inspect the relaxed garment, extend relevant openings, and review any agreed washed sample for rippling, puckering, or stitch failure. |
1. Map each stitch location and define its job
Start with front, back, and detail drawings that identify every stitch the buyer will see or feel. On tees, mark the bottom hem, sleeve openings, and neckline finish separately. On polos and henleys, add the collar attachment, placket edges, and any transitions where a stitch line meets a reinforced area. On joggers, distinguish the leg opening from the waistband and pocket topstitching because these areas experience different movement and handling. Assign each location a reference code and explain whether its purpose is edge finishing, seam allowance control, reinforcement, decoration, or a combination. This map prevents the factory from applying one stitch treatment everywhere simply because the lines look similar in a sketch.
Name the intended construction, but also show its face and underside appearance. Coverstitch commonly provides parallel needle lines on the face with a looper formation underneath, while twin-needle topstitch describes an appearance that needs further construction clarification. Ask the factory to identify the proposed stitch formation when the underside, seam security, or stretch behavior matters. Avoid treating two visible rows as proof that two methods are interchangeable. For turnback depths, cuff proportions, and opening dimensions, use How to Brief Clothing Sleeve and Hem Construction as companion reading. Keep those dimensions coordinated with the stitch map so a later hem revision does not leave an outdated placement instruction in the sewing notes.
2. Specify spacing, placement, and thread appearance
Define stitch width in terms that cannot be confused with garment dimensions. If you mean the distance between two needle lines, call it needle spacing and record it in millimeters. For a three-needle construction, clarify whether the stated measurement is between adjacent lines or across the outermost lines. Separately specify the distance from the folded edge or joining seam to the nearest needle line, along with the finished hem depth where relevant. Give the factory a target and an agreed tolerance rather than using only narrow, wide, or close to edge. Ask which machine gauges are available before finalizing the brief, since a requested spacing may require a different setup.
Describe thread appearance with an approved color reference and a sewn example wherever possible. Matching thread should be evaluated on the actual fabric, since texture, sheen, and stitch density can make a nominal color match look different once sewn. For contrast topstitching, identify whether both needle lines must use the same color and whether the underside thread may differ. State your preferred visual weight, then ask the factory to confirm suitable thread type and size for the fabric and construction rather than prescribing a heavy decorative thread without a sewing trial. How to Brief Clothing Side Seam and Shoulder is useful companion reading when visible rows must align with seam allowances or cross thicker junctions.
3. Match the stitch to fabric stretch and finishing risks
Provide the fabric composition, construction, weight, stretch direction, and any available supplier information on extension and recovery. A cotton jersey tee, a pique polo, and a stretch jogger cuff should not automatically receive the same sewing setup. Identify openings that must expand during dressing and areas that mainly need to remain flat during wear. Ask the factory to trial the proposed thread, needle, stitch density, tension, and feed settings on the intended material. Describe the required behavior in the brief, including an agreed extension check, rather than assuming coverstitch will always stretch sufficiently or that twin-needle lockstitch topstitching is suitable for every stretch location.
Puckering can arise from several interacting factors, including thread tension, feeding differences, fabric handling, stitch density, and dimensional changes after washing. Ask for relaxed sample photographs and inspect the garment laid flat without pulling the seam smooth. Look for ripples along hems, raised tunneling between needle lines, neck openings that flare, and uneven transitions at bulky seam crossings. If washing is part of sample approval, agree the care method and assessment conditions before comparing results. Do not label an unverified observation as a laboratory finding. Read How to Brief Clothing Collar and Neckline Construction alongside these instructions when neckband ratio, binding width, or seam allowance direction could affect the apparent stitch quality.
4. Approve a sewn reference before releasing bulk
Review the sample with a location-by-location checklist instead of approving only the overall look. Measure needle spacing and stitch placement at several points, including near side seams, sleeve joins, and placket ends. Turn the garment inside out to check coverage, thread tails, secured starts and stops, and any rough areas against the skin. Extend relevant openings using the agreed method, release them, and inspect recovery and stitch integrity without claiming a standardized performance result unless that testing was actually commissioned. Record each issue with a photograph, location code, requested correction, and approval status. Where appearance is subjective, retain a physical approved reference rather than relying exclusively on screen images.
For sourcing and scheduling, plan around MOQ 100 pcs and clarify how that minimum applies to the proposed style, color, and size assortment before placing the order. Samples take approximately 7 days once the brief and materials are confirmed; unresolved thread choices, unavailable fabric, or revised construction can require the schedule to be reconfirmed. Bulk production timing depends on quantity, so request a written schedule after the order details and sample approval requirements are settled. Release a dated specification revision with the approved sample, measurement tolerances, and inspection notes. Ask the factory to flag any proposed machine, material, or construction substitution before production, and request supporting documents only for claims relevant to your order.
Send these details together
- Annotate tees, polos, henleys, and joggers by stitch location, identifying the face appearance, underside finish, functional purpose, and any seam crossings that need special attention.
- Separate needle spacing, distance from the edge, and finished hem depth in the specification; record measurement units, target values, and factory-agreed tolerances.
- Approve thread color and visual weight on the actual material, and confirm the proposed stitch formation, machine gauge, and thread suitability before final sample approval.
- Check the relaxed garment, relevant opening extension, recovery, underside comfort, and any agreed wash evaluation; document puckering, skipped stitches, broken threads, and inconsistent placement.
- Confirm MOQ 100 pcs and assortment terms, allow approximately 7 days for samples after brief and materials confirmation, and obtain quantity-dependent bulk timing in writing.
This informational buying guide covers visible and finishing stitch briefs for menswear China OEM tees, polos, henleys, and joggers. It does not establish laboratory performance, certify products, or replace order-specific sample approval. Reprint permission is granted with attribution to clothingmanufacturerchina.com and sales@clothingmanufacturerchina.com.
Prepare a quote briefThe RFQ form prepares a WhatsApp message for you to review. For files, email sales@clothingmanufacturerchina.com.
Questions before sampling
Is coverstitch the same as twin-needle topstitch?
No. Coverstitch identifies a stitch construction, while twin-needle topstitch often describes two parallel visible rows without fully identifying the underlying stitch formation. A factory needs more than a face-side photograph to resolve that ambiguity. Specify the intended underside, needle spacing, placement, and stretch requirements, and ask the factory to confirm the proposed construction. Approve a sewn example on the actual material before treating two visually similar finishes as equivalent.
What should a buyer specify to reduce puckering?
Supply accurate fabric information, clear placement dimensions, the intended thread appearance, and the required stretch behavior. Ask the factory to trial compatible needle, thread, tension, stitch density, and feed settings rather than assuming a single adjustment will solve every issue. Evaluate the garment relaxed and at thicker junctions, then use the agreed care procedure if wash assessment is required. Define acceptable appearance through written notes and an approved reference, not an unsupported promise of zero puckering.
What are the MOQ and sample timing for this type of brief?
MOQ is 100 pcs. Confirm the application of that minimum to your style, color, and size breakdown during quotation. Samples take approximately 7 days once the brief and materials are confirmed, so unresolved construction details or material substitutions should be settled before treating the sample schedule as active. Bulk timing depends on quantity and should be confirmed against the approved specification and order details. Do not assume the sample lead time also applies to bulk production.
What are your MOQ, sample time and bulk lead time?
MOQ is 100 pcs. Samples take 7 days. Bulk production lead time depends on order quantity.