How to Brief Clothing Side Seam and Shoulder Construction
A useful menswear construction brief tells a China OEM factory how each seam must look, function, and measure, rather than relying on a reference photo alone. Specify the side seam assembly, finished seam allowance, shoulder slope, shoulder seam position, reinforcement, and measurement method together. Separate construction requirements from fit targets so the sample room can identify which changes affect appearance, comfort, or garment balance. For this buying program, MOQ is 100 pcs, samples take approximately 7 days once the brief and materials are confirmed, and bulk timing depends on quantity.
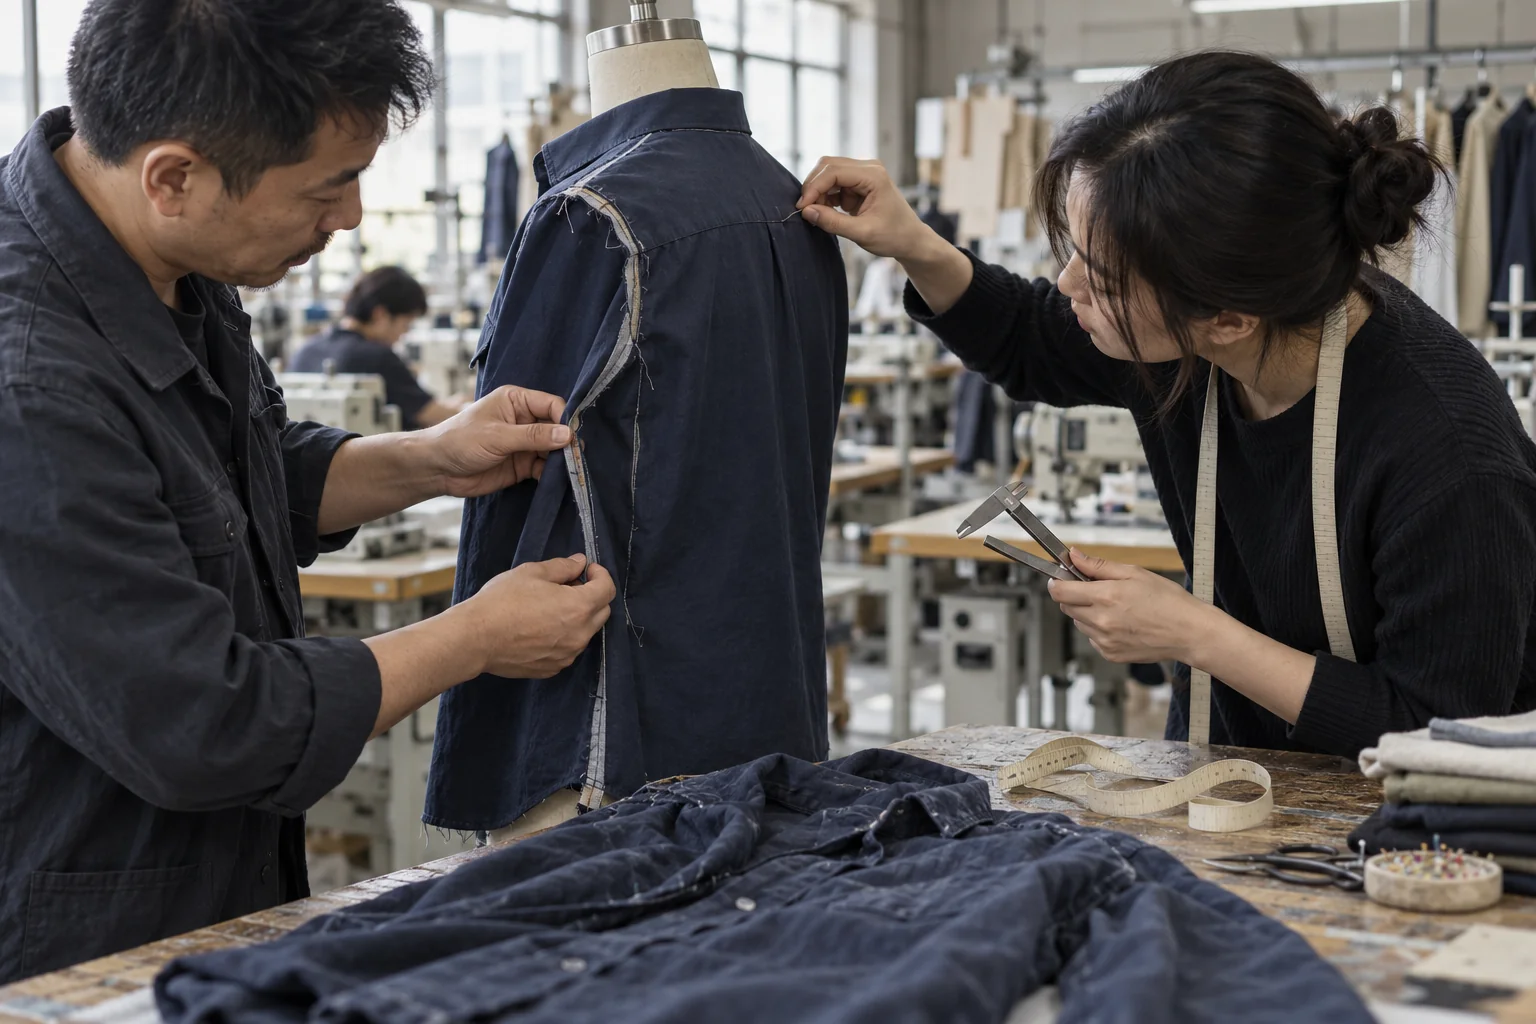
At a glance
Swipe the table sideways to compare both columns →
| Seam decision | What to specify | Sample check |
|---|---|---|
| Side seam assembly | State overlock joining or another assembly method; identify any separate coverstitch or clean-finish operation with an inside-view sketch. | Inspect seam security, stretch, bulk, skin contact, and exterior appearance on the specified fabric. |
| Seam allowance | Give allowance in millimeters at each relevant seam and clarify whether it is measured before or after trimming. | Measure the retained allowance and check consistent trimming without excessive bulk or edge exposure. |
| Shoulder geometry | Specify shoulder slope reference, shoulder seam position, and shoulder width measurement landmarks. | Check seam location on the intended fit body, left-right balance, and the recorded shoulder width. |
| Twin-needle and reinforcement | Identify stitch application, row spacing, thread appearance, tape material, tape width, and reinforcement extent. | Check stretch recovery, tunneling, puckering, tape visibility, and comfort against the skin. |
| Wash alignment | Agree on wash and drying conditions, conditioning method, alignment references, and acceptance criteria. | Compare pre-wash and post-wash measurements, side seam displacement, shoulder balance, and visible torque. |
1. Define the Side Seam Assembly and Finish
Start the brief with the garment category, fabric construction, fabric weight target, and intended fit. A jersey T-shirt, pique polo, and woven overshirt do not necessarily need the same side seam solution. For an overlocked side seam, identify the proposed joining operation, required stretch, seam direction, and acceptable interior appearance. Avoid writing only coverstitch clean finish, because that phrase can mean different operations to different sample rooms. Ask the factory to distinguish the seam that joins the panels from any operation that secures or decorates the allowance. Include an inside-view sketch and a close reference image showing which edges, stitch lines, and allowances should remain visible.
State the seam allowance in millimeters and identify its reference: pattern allowance before sewing, retained allowance after overlock trimming, or finished distance from the joining line to the edge. These are not interchangeable measurements. Specify whether the allowance should lie toward the front or back and whether that direction changes at an intersection. If you want twin-needle detailing, identify the exact application and ask the factory to confirm the machine and stitch configuration, rather than assuming every two-row appearance behaves alike. Read How to Brief Clothing Sleeve Hem Construction alongside this brief so side seam intersections, sleeve openings, and bottom hems use compatible finishes without unexpected bulk.
2. Specify Shoulder Slope, Seam Placement, and Reinforcement
Describe shoulder slope and shoulder seam placement as separate decisions. Slope concerns the downward angle or drop from the neck-side shoulder point toward the armhole, while placement describes where the seam sits relative to the wearer, such as on the shoulder line or intentionally shifted forward. Provide a technical sketch identifying the neck-side and armhole-side landmarks. If slope is controlled through a vertical drop or angle, state the reference line, size, and units. Do not ask the factory to interpret a lifestyle photograph as a pattern measurement. Record the intended silhouette, including whether the style uses a natural shoulder, extended shoulder, or dropped shoulder construction.
For shoulder reinforcement, specify whether tape is required, its material, width, location, and the length of seam it should support. Ask the sample room to propose a compatible option if your team has not selected one, then approve it on the actual fabric. A reinforcement that stabilizes a lightweight jersey may also restrict stretch or create a visible ridge if it is too rigid or applied with unsuitable tension. Check the tape ends at the neckline and armhole for bulk and skin contact. Where shoulder topstitching or twin-needle rows are requested, identify row spacing and appearance, then inspect for puckering, tunneling, and unwanted shoulder shortening.
3. Set Measurement Points and Check Post-Wash Alignment
Define chest width with a flat garment diagram and a written method. State the distance below the armhole at which the chest is measured, whether the measurement runs straight across from edge to edge, and whether it is a half-chest width rather than a full circumference. Lay the garment without stretching it and describe how folds or side seams should be positioned. For shoulder width, identify the endpoints and whether the tape follows a straight line across the back or another agreed path. Extended and dropped shoulders need especially clear landmarks. Set size-specific targets and tolerances, and record whether each target applies before washing, after washing, or both.
To evaluate twist or torque, agree on a wash and drying procedure before judging the sample. Record the care conditions, number of cycles, conditioning time, and how the garment will be laid flat for comparison. Photograph the front, back, and side seams before and after washing using the same alignment method. Note side seam displacement, hem skew, chest change, and shoulder imbalance against agreed acceptance criteria. Do not assume every twisted garment is caused by sewing alone; fabric structure, finishing, cutting alignment, and sewing tension can contribute. Request investigation based on the observed pattern rather than prescribing an unsupported fix. These checks are approval observations, not invented laboratory results.
4. Turn Sample Comments into a Controlled Bulk Specification
Send one consolidated sample brief containing the construction sketches, measurement chart, fabric and trim references, and priority questions. For this program, MOQ is 100 pcs; confirm how the proposed size and color breakdown will be handled before placing the order. Sample timing is approximately 7 days once the brief and materials are confirmed, so clarify whether any unapproved tape, thread, fabric, or construction choice remains outstanding. Separate sample preparation from shipping and any additional revision round when planning your calendar. Ask the factory to flag unclear operations before sewing, especially where your desired clean finish or twin-needle appearance may affect stretch, cost, or available production methods.
Review the sample in a fixed sequence: confirm materials, inspect construction inside and outside, measure the garment, assess fit, and complete any agreed wash comparison. Write each correction with its location, observed issue, requested change, and measurement or visual acceptance reference. How to Handle Clothing Fit Comments provides companion guidance for making these instructions actionable, while How to Approve Clothing Samples helps organize the final approval decision. After revisions, update the specification version and identify the approved physical sample. Bulk timing depends on quantity and must be confirmed with the factory against the final order and material status. Do not treat an estimated sample schedule as a bulk delivery promise.
Send these details together
- Attach inside and outside seam sketches that distinguish panel joining, edge finishing, coverstitching, and decorative twin-needle operations; name every required stitch location rather than relying on a general clean-finish instruction.
- Record seam allowances with units and measurement references, including whether values describe the pattern allowance or the retained allowance after trimming, and note the required direction of the finished allowance.
- Define shoulder slope, seam placement, reinforcement tape, chest measurement points, and shoulder width landmarks for the base size, with grading instructions or size-specific measurements where applicable.
- Agree on pre-wash and post-wash inspection conditions, photographic alignment, measurement tolerances, and torque acceptance criteria before reviewing the sample, so both buyer and factory assess the same conditions.
- Confirm MOQ 100 pcs, the proposed size and color allocation, sample readiness approximately 7 days after brief and materials confirmation, and a separately quoted bulk schedule based on quantity.
This resource covers buyer briefing and sample approval for menswear side seam and shoulder construction in China OEM production. It does not establish laboratory performance results, certifications, or universal construction tolerances. Reprint permission is granted with attribution to clothingmanufacturerchina.com and sales@clothingmanufacturerchina.com.
Prepare a quote briefThe RFQ form prepares a WhatsApp message for you to review. For files, email sales@clothingmanufacturerchina.com.
Questions before sampling
Should I specify overlock or coverstitch for a menswear side seam?
Specify the joining requirement first, then the finish you want. Overlock commonly joins and finishes edges in knit construction, while coverstitch may be a separate operation used to secure an allowance or create a particular appearance. They are not automatically interchangeable. Provide an inside-view sketch, explain the required stretch and skin-contact finish, and ask the factory to confirm a suitable construction using your actual fabric.
How should I brief shoulder width and chest width to avoid measurement disputes?
Use labeled diagrams and written instructions together. For chest width, define the measurement level below the armhole, flat positioning, and whether the value is half width. For shoulder width, name both endpoints and the measurement path. State whether the garment is measured before or after washing and establish tolerances for each size. Do not use shoulder seam length as a substitute for across-shoulder width.
What should happen if the sample twists after washing?
Document the wash conditions and compare the sample with its pre-wash photos and measurements. Identify whether the issue appears as side seam displacement, hem skew, or broader garment imbalance. Ask the factory to review fabric behavior, cutting alignment, and sewing conditions before agreeing on corrective action. Recheck a revised sample under the same procedure when needed. Additional revisions require schedule confirmation; bulk timing depends on quantity, not the approximately 7-day initial sample estimate.
What are your MOQ, sample time and bulk lead time?
MOQ is 100 pcs. Samples take 7 days. Bulk production lead time depends on order quantity.