How to Brief a Custom Henley Shirt Manufacturer
Briefing a custom henley shirt manufacturer starts with treating the placket, neckline, and knit body as one construction system. Specify jersey, thermal, or waffle fabric alongside sleeve length, regular/slim/relaxed fit, finished placket length, button count, binding, and reinforcement. Set measurable requirements for appearance and fit after the intended care process, and map decoration away from buttonholes and bulky seams. MOQ 100 pcs per color per design is the starting garment requirement. Samples take approximately 7 days once the brief and materials are confirmed; bulk timing depends on quantity, material readiness, construction capacity, and approval of the production reference.
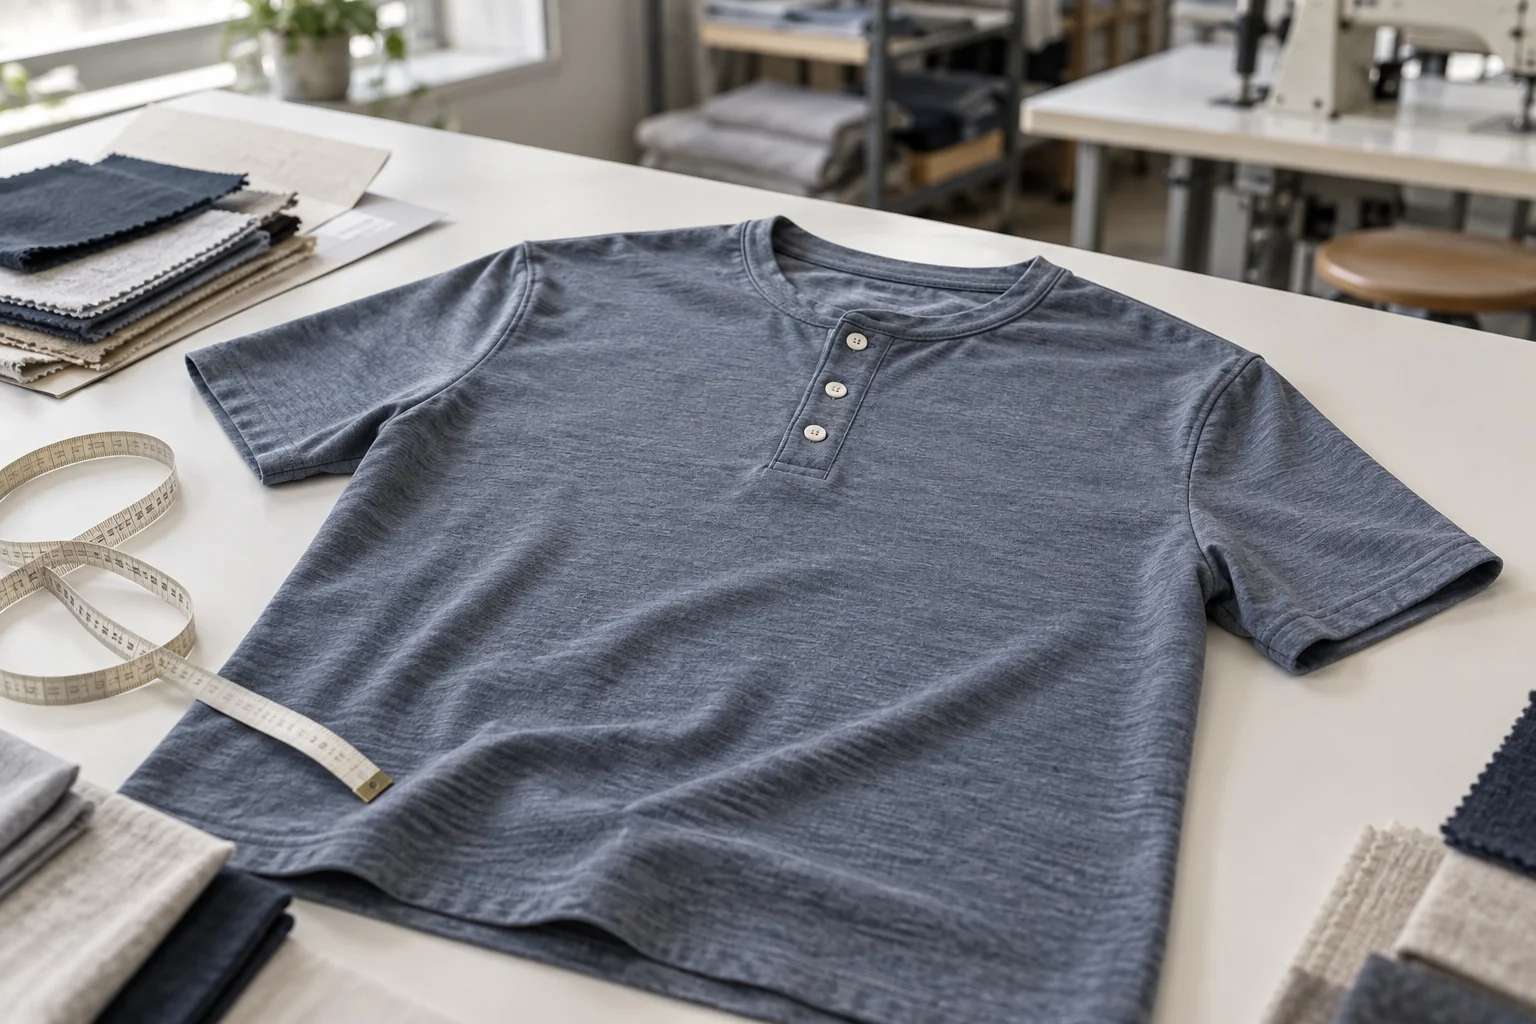
At a glance
Swipe the table sideways to compare both columns →
| Briefing point | Evidence to request | Decision or control |
|---|---|---|
| Body fabric | Identified jersey, thermal, or waffle article with weight, width, and care findings | Select material against intended drape, texture, and dimensional behavior |
| Placket and buttons | Dimensioned construction drawing, button layout, and reinforcement trial | Approve opening geometry and operation without distortion |
| Neckline and fit | Binding specification, graded measurements, and actual-fabric fitting sample | Review closed and open neckline appearance across the size range |
| Decoration | Scaled artwork placement and actual-fabric application trial | Keep decoration clear of openings, buttonholes, and construction allowances |
| Production release | Approved sample, specification revision, size allocation, and inspection plan | Release bulk only after material and construction changes are resolved |
1. Give the custom henley shirt manufacturer a complete brief
Start with a front and back technical drawing that makes the garment identifiable as a knit henley rather than a polo or woven shirt. Show the collarless neckline, partial front opening, sleeve length, hem shape, and intended button arrangement. State whether the style is an everyday jersey top, a thermal layering piece, or a textured waffle shirt, because those descriptions imply different fabric and construction questions. Include the intended regular, slim, or relaxed fit, the base sample size, and the complete selling size range. Provide reference photographs only as supporting evidence; annotate which features matter and which should not be copied into the specification. A photograph cannot reliably establish placket length, binding width, or garment measurements. Give the factory a revision-controlled brief so that costing, pattern development, and sample comments all refer to the same design.
Ask the OEM to identify which operations it will perform and which require another production partner, including knitting or fabric purchasing, dyeing, buttonhole work, printing, and embroidery. The custom henley service page at /custom-henley-shirt-manufacturer is a starting point for discussing scope, not evidence that a particular fabric or construction is already available. Request confirmation against your actual brief and ask for proposed alternatives to be labeled separately. Set the starting order at MOQ 100 pcs per color per design, then show the size allocation within each color and design. Confirm any separate minimums for custom fabric, dyed trims, buttons, or decoration. Record who supplies labels, packaging specifications, and artwork. A useful quotation identifies the material article, construction assumptions, included development work, and unresolved decisions rather than pricing a generic henley description that different suppliers may interpret differently.
2. Choose jersey, thermal, or waffle by garment behavior
Specify the body fabric through an identifiable article, fiber composition, knit structure, finished weight with tolerance, usable width, and finishing condition. Jersey can produce a relatively smooth surface, while waffle and other thermal constructions introduce texture and thickness that affect the neckline and placket. Do not treat thermal and waffle as interchangeable technical specifications; request close photographs and a physical swatch showing the proposed structure. Ask whether the surface is brushed, softened, compacted, or otherwise finished, and identify the condition in which weight is measured. Record stretch direction and the recovery needed for the intended silhouette without assuming that fiber percentages alone establish performance. Related thermal and waffle product pages can help describe the requested family, but the purchase order should name the approved article. Review opacity, handfeel, and drape in the proposed color before committing to the material.
Have the factory assess the selected knit under the intended garment care instructions and report dimensional change, twisting, surface appearance, and any relevant color transfer findings using an agreed procedure. Agree acceptance criteria before evaluating results, and distinguish supplier fabric data from findings on your finished sample. Textured material can flatten under pressing, while a light jersey may reveal an overly stiff interlining beneath the placket. Ask for a construction trial using the actual body fabric, proposed reinforcement, thread, and buttons rather than approving those components independently. Confirm that sample yardage represents the intended bulk article and identify any color or finishing differences. Request preliminary consumption based on usable width and the planned size allocation, with cutting and development allowances shown separately. If stock material supports the order quantity, establish reservation terms and how replacement lots will be reviewed before use.
4. Connect neckline binding, sleeve length, and fit
Describe the neckline as a finished shape with measurable width, depth, and binding dimensions, using clearly illustrated measurement points. Specify whether the edge uses rib, self-fabric binding, or another construction, and identify composition and color requirements for any separate trim. Ask the factory to propose the binding cut width and application relationship to the neckline opening, then judge the result on the intended knit. A binding that is too loose can stand away from the neck; one applied with excessive tension can gather the body or pull the placket corners upward. Show how the binding meets the placket at each side, including seam coverage and visible stitching. If back neck tape is required, define its material, finished width, extent, and end treatment. Keep its function separate from neckline binding so the factory does not substitute one construction for the other.
Build the fit specification around chest, body length, shoulder width, sleeve length, armhole, bicep, cuff or sleeve opening, and hem width, with tolerances and measurement methods attached. Label the intended fit as regular, slim, or relaxed, but use measurements and fitting comments to make that label actionable. State whether short sleeves should sit close to the arm, whether long sleeves end in rib cuffs or a turned hem, and how much layering room is intended. Evaluate the sample with the placket closed and partly open, checking neckline balance, shoulder position, and whether the front opening pulls under normal movement. Review the garment after the intended care process as well as before it. If the size range is broad, request additional size samples where grading could change the opening position, sleeve proportions, or overall balance, rather than assuming one base-size approval covers every size.
5. Reserve decoration clearance around the opening
Supply production-ready artwork with dimensions, color references, application method, and placement measured from stable garment landmarks. Use center front, shoulder, or another defined point rather than an approximate chest position, and explain whether placement changes by size. Draw a clearance zone around the placket that accounts for the finished edge, buttonholes, button sewing, bottom reinforcement, and the construction allowance needed before assembly. There is no universal safe distance for every decoration method, so have the decorator and sewing team confirm the clearance for the actual equipment and sequence. A graphic centered on the full body may look off-center beside an asymmetric overlap; review the intended visual balance with the placket closed. If artwork intentionally approaches or crosses the opening, require a specific panel layout and assembly proposal instead of treating it as an ordinary chest print.
Test the decoration on the approved fabric and reinforcement system before accepting a finished appearance reference. Waffle texture can interrupt fine print detail, while embroidery may draw a light jersey inward or add uncomfortable stiffness near the opening. Ask for the proposed backing, support, curing or pressing route, and any visible changes to the fabric surface. Determine whether decoration occurs on cut panels or completed garments, and identify the extra placement controls needed for that sequence. Inspect the trial after the intended care process for distortion, loss of definition, surface damage, and changes in handfeel. Check the reverse side where decoration or backing could contact skin. Record artwork revision, approved dimensions, placement tolerances, and the sample reference in the specification. Do not allow a bulk change of decoration method or backing without review, even if the supplier considers the alternative visually similar.
6. Release samples and bulk through documented gates
Set the first sample gate around a complete brief, confirmed materials, and a list of open questions that the sample is intended to resolve. Samples take approximately 7 days once the brief and materials are confirmed; allow additional time for unavailable fabric, custom trims, decoration trials, shipping, and revisions. Require the sample record to identify the pattern version, fabric article, reinforcement, button specification, and artwork revision. Measure the garment, operate every button, inspect both sides of the placket, and assess neckline balance before and after the agreed care process. Separate fit corrections from workmanship defects and material concerns so the factory can respond with specific actions. Return consolidated comments using marked photographs and revised measurements. If a substitute component was used for development, label that limitation clearly and require confirmation in the intended component before treating the sample as production approval.
Before bulk release, reconcile the approved sample with the purchase order, graded measurement chart, bill of materials, color allocation, and decoration file. Confirm MOQ 100 pcs per color per design separately from material and trim commitments, and identify ownership of any surplus. Bulk timing depends on quantity as well as material readiness, production capacity, and approvals; request a schedule tied to those dependencies rather than a date detached from them. Establish an early-production checkpoint for placket symmetry, binding behavior, buttonhole quality, and decoration placement before the full order progresses. Define final inspection coverage, measurement sampling, defect acceptance, and the response to failed checks in writing. Keep lot and component changes traceable and require approval for substitutions before cutting or assembly. Release shipment only after agreed inspection findings, corrective actions, labeling, and packing requirements have been reviewed against the approved production reference.
Send these details together
- Issue a revision-controlled henley drawing with fabric family, sleeve length, fit, base size, and full size allocation.
- Identify the body article, composition, weight, usable width, finishing condition, and agreed care assessment.
- Dimension placket length, width, overlap, button layout, buttonholes, reinforcement, and visible stitching.
- Approve neckline binding, neck tape where required, sleeve finish, graded measurements, and post-care fit.
- Confirm decoration clearance, artwork placement, application sequence, and actual-fabric trial results.
- Connect sample approval to bulk materials, early-production checks, final inspection, and shipment release.
This guide covers buyer-side China menswear OEM planning for custom henley knit tops, including jersey, thermal, and waffle bodies with partial button plackets. MOQ 100 pcs per color per design is the starting garment requirement; confirm size allocation and separate fabric, trim, and decoration minimums. Samples take approximately 7 days once the brief and materials are confirmed; bulk timing depends on quantity, materials, capacity, and approvals. Construction and inspection requirements should be agreed for the intended use and destination. Reprint attribution: clothingmanufacturerchina.com.
Prepare a quote briefThe RFQ form prepares a WhatsApp message for you to review. For files, email sales@clothingmanufacturerchina.com.
Questions before sampling
What should I send to a custom henley shirt manufacturer first?
Send front and back drawings, a measurement chart, the intended fabric family, sleeve length, fit, and size range. Add finished placket dimensions, button count and layout, neckline construction, and decoration requirements. Include quantities by color and design, target care instructions, and reference images with annotations. Ask the factory to identify missing decisions before quoting or starting patterns.
Can jersey, thermal, and waffle henleys use the same pattern?
They can share a design direction, but the same pattern should not be assumed suitable without trials. Differences in thickness, stretch, recovery, and dimensional change can affect fit, binding application, and placket balance. Ask the factory to assess each identified article and approve an actual-fabric sample. Record any pattern or reinforcement changes as separate production specifications.
How do I decide placket length and button count?
Start with the intended opening depth and appearance, then dimension the finished placket and button positions together. Button count alone does not establish spacing, coverage, or ease of dressing. Review the top and bottom positions, overlap, button size, and opening operation on a fitting sample. State whether length and button layout stay fixed or change across sizes.
Does a 100-piece order include any fabric or decoration option?
No. MOQ 100 pcs per color per design is the starting garment requirement, not confirmation that every custom material or process is available at that quantity. Fabric dyeing, special buttons, trim development, and decoration may carry separate minimums or setup requirements. Request those commitments separately, and compare stock-material alternatives without allowing an unapproved substitution into the final specification.
What are your MOQ, sample time and bulk lead time?
MOQ is 100 pcs. Samples take 7 days. Bulk production lead time depends on order quantity.