How to Brief an Oversized T Shirt Manufacturer
Briefing an oversized t shirt manufacturer starts with defining the silhouette in measurements rather than asking for a standard tee in a larger size. Connect body width and length, shoulder drop, sleeve volume, fabric drape, and neckline stability in one controlled specification. Set decoration clearances and evaluate width and length shrinkage separately before approving the size range. MOQ 100 pcs per color per design is the starting garment requirement. Samples take approximately 7 days once the brief and materials are confirmed; bulk timing depends on quantity, material readiness, decoration capacity, and approvals. Use documented sample gates to connect the intended fit with production evidence.
At a glance
Swipe the table sideways to compare both columns →
| Briefing point | Evidence to request | Decision or control |
|---|---|---|
| Body and sleeve proportions | Measurement diagram, fit photographs, and body, shoulder, and sleeve dimensions | Approve width-to-length balance and sleeve position on the intended wearer |
| Fabric and opacity | Identified jersey article, weight, usable width, and actual-color garment sample | Select material by worn drape and coverage rather than weight alone |
| Neckline stability | Collar specification, attachment details, and before-and-after-wash observations | Approve collar recovery and neckline shape with the selected body fabric |
| Decoration and shrinkage | Placement drawing, decorated sample, and separate width and length results | Keep artwork clear of seams and verify appearance after the intended care process |
| Grading and production release | Size-set measurements, approval record, and bulk material references | Release only the documented pattern, fabric, collar, and decoration combination |
1. Give the oversized t shirt manufacturer a measurable silhouette
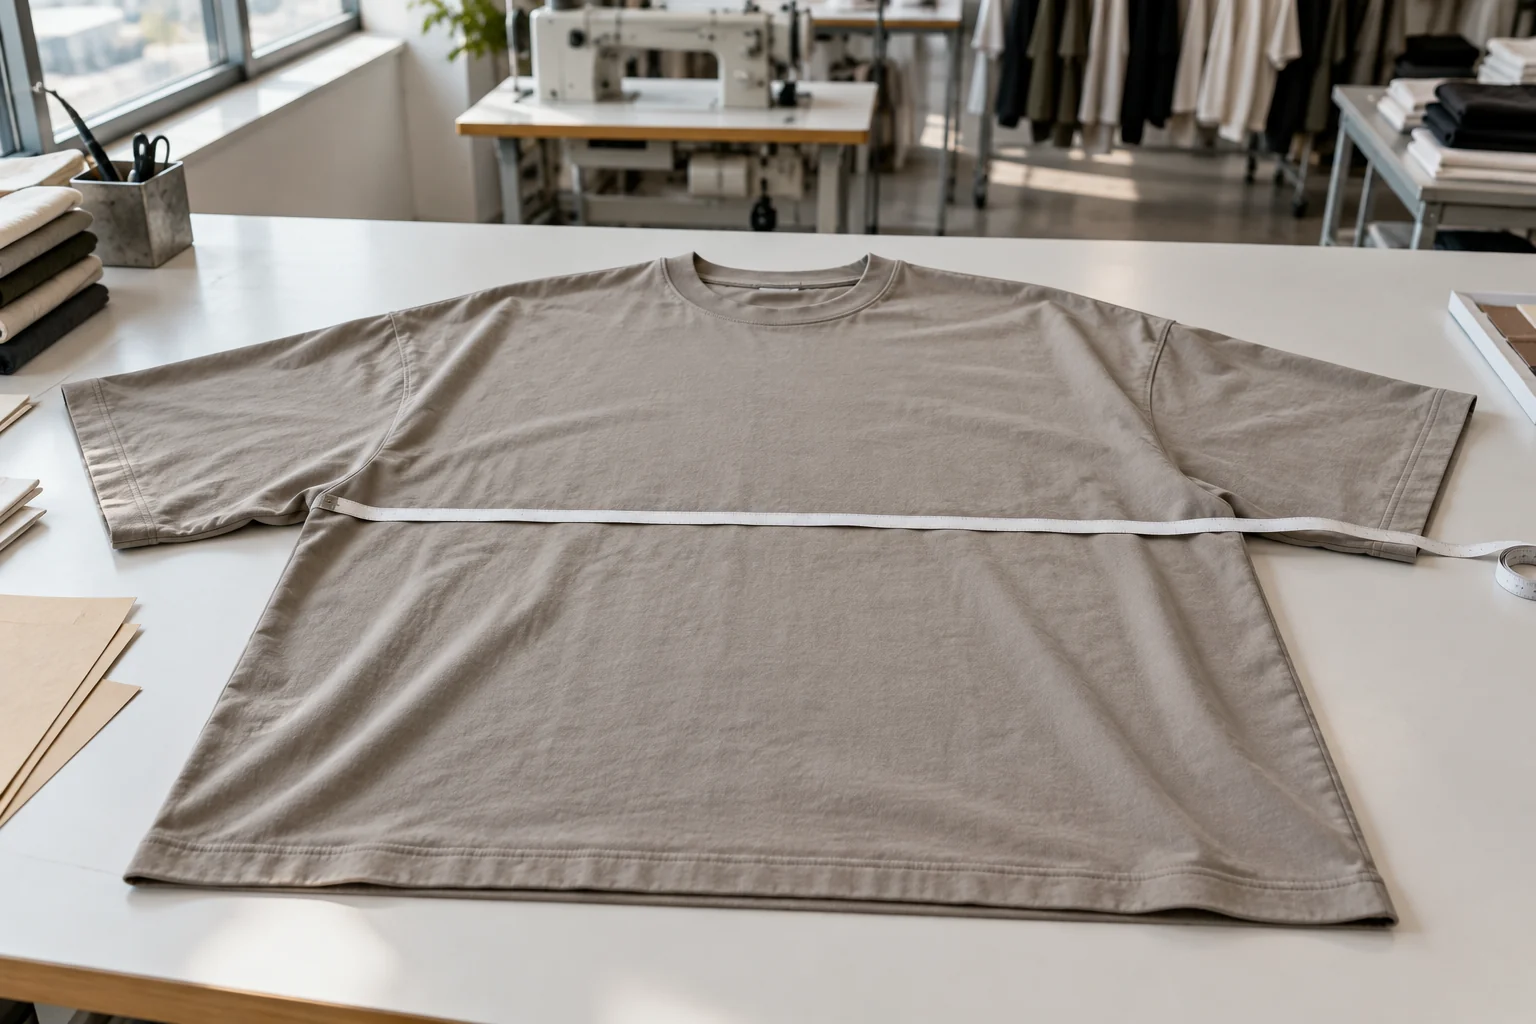
Start the brief with the intended wearer, size range, and wearing position, then describe what oversized means for this program. A boxy tee generally needs deliberate width relative to body length, while a longer oversized tee may rely on a different balance. Supply front, back, and side reference images, but translate them into a measurement sheet rather than expecting the factory to copy visual proportions. Define half chest, body length, bottom opening, shoulder width, armhole depth, sleeve length, sleeve opening, and neck opening. State the measurement method for every point, including whether body length runs from the high shoulder point and where chest width is taken below the armhole. Specify flat garment measurements separately from wearer measurements. Identify the base size, target tolerances, and whether the figures describe the garment before or after the agreed care process.
Evaluate width and length together on a fit model or wearer whose relevant body measurements are recorded. Ask for photographs with the arms relaxed and raised so that you can see whether extra volume hangs cleanly or gathers around the armhole. Check the hem position against the intended waist or hip reference rather than accepting a generic description such as cropped. Compare the front and back balance, side seam position, and hem sweep when the garment is worn naturally. A wider pattern can appear unexpectedly short because the fabric travels over the shoulders and upper body differently. Record corrections as changes to named measurement points and pattern areas, not instructions to make the whole tee bigger. Keep an approved silhouette reference alongside the measurement sheet, since two garments can share a chest measurement yet distribute their volume differently.
2. Connect shoulder drop with armhole depth and sleeve volume
Define shoulder drop through both the garment shoulder width and its position on the intended wearer. The apparent drop depends on the wearer's shoulder breadth, so a reference photograph without body information is incomplete. Ask the pattern team to explain how shoulder slope, armhole depth, and sleeve shape support the requested relaxed profile. A very wide shoulder combined with a deep armhole can produce more underarm fabric than the buyer intended, even when chest width is correct. Measure sleeve width at an identified location and state the sleeve opening independently. Clarify whether the sleeve should stand away from the arm, fall vertically, or taper toward the opening. For a tee intended to finish near the elbow, review the complete shoulder-to-sleeve-end relationship rather than treating sleeve length from the seam as an isolated number in the specification.
Use the first fit sample to inspect movement and seam behavior as well as the static silhouette. Have the wearer reach forward, lift the arms, and return to a relaxed position; note whether the body rides up excessively or the sleeve twists around the arm. Review shoulder seam placement from the front and back, and check that the sleeve hems hang consistently on both sides. Specify the shoulder stabilization method where needed, including tape or another agreed construction, without assuming every heavy jersey needs the same solution. Ask whether the proposed seam allowances and stitching create unnecessary bulk at the dropped shoulder intersection. If the sleeve opening is revised, reassess its relationship with the bicep width and sleeve length. Record the approved construction in the technical pack so that a visual fit correction does not disappear when the factory prepares production sewing instructions.
3. Choose jersey for drape, coverage, and production behavior
Specify fiber composition, knit structure, finished weight, usable width, color, and surface finish before comparing fabric offers. Weight should be expressed in GSM with an agreed tolerance and measurement condition, but it is not a complete description of opacity or drape. A compact jersey and a looser jersey can behave differently at similar weights, while pale shades can reveal coverage problems that a dark swatch conceals. Request enough actual-color fabric for a garment sample and examine it under agreed lighting over a consistent contrasting background and on the wearer. Check the broad chest and back panels without stretching them artificially, then assess coverage during normal movement. For a more structured silhouette, compare an appropriate interlock alternative separately rather than treating it as an interchangeable jersey. Record the article identity so that the selected handfeel remains linked to a specific material.
Review how the fabric's own weight affects the wide body, dropped shoulder, and neckline after the sample has hung and been worn. A heavier cloth may create structure, but it can also pull on the neck opening or produce an overly rigid sleeve. A softer cloth may collapse into vertical folds instead of holding the intended boxy outline. Ask the factory to assess usable width against the widest pattern size and provide consumption based on the actual marker, not a standard slim tee allowance. Confirm fabric minimums, available color quantities, and finishing requirements separately from the garment order. Where stock material is proposed, identify the reserved article and lot and agree how substitutions will be reviewed. Keep a labeled reference swatch and a finished sample because a small cutting alone cannot demonstrate how a large garment panel hangs.
4. Stabilize the neckline and protect decoration clearance
Set neck width, front neck drop, back neck drop, and finished collar height as separate requirements. Identify whether the collar is rib or self-fabric, then specify its composition, structure, and recovery expectations alongside the body fabric. Do not prescribe one collar-to-neckline length ratio for every material; ask the factory to develop the attachment length on the actual fabric combination. Excessive tension can gather the neck seam, while insufficient tension can leave the opening loose or wavy. Inspect the collar join, seam bulk, attachment stitching, and any back neck tape or shoulder reinforcement. Evaluate whether the neck shape remains balanced when the heavy or wide body hangs from it. Include pulling the tee on and off and the agreed wash assessment in sample review, recording distortion or poor recovery without treating a neat unwashed sample as sufficient evidence.
Provide a decoration drawing that identifies artwork size, placement origin, centerline, and minimum clearance from the neckline, armholes, side seams, and hem. State whether placement is measured from the high shoulder point, neck seam, or another repeatable reference, and measure on the garment in a defined flat condition. A large chest panel does not automatically provide an unrestricted print area: dropped shoulders, armhole curves, equipment limits, and size grading can change the usable space. Ask the decorator to confirm the supported application area and registration approach before artwork approval. For embroidery, review backing, density, and stitch coverage on the selected jersey because a broad design can stiffen or pucker the panel. Approve decoration on a full garment, not only a strike-off, and inspect how its position and stiffness affect drape when worn and after washing.
5. Verify width and length shrinkage before approving grading
Define the intended care instructions and agree the washing, drying, conditioning, and measurement procedure used for development checks. Record garment dimensions before and after that process, using the same measurement points and handling method. Calculate width and length change separately rather than accepting a single shrinkage statement for the fabric. Chest width, body length, sleeve length, and collar shape can change differently, altering the approved oversized balance. Check side seam twisting, hem distortion, decoration puckering, and any change in panel coverage at the same time. If production includes a garment wash, distinguish that factory process from subsequent consumer care and identify which condition each measurement table represents. Ask the pattern team to justify compensation using the actual material and process findings. Do not enlarge every dimension by one blanket percentage without reviewing the resulting fit and construction.
Create a grade rule table that explains how chest width, body length, shoulder width, armhole depth, sleeve dimensions, and neckline change across the size range. The objective is to retain the intended oversized relationship for each target wearer, not simply extend the hem as sizes increase. Review at least the smallest, base, and largest proposed sizes, with additional sizes where the pattern or target body proportions require closer checking. For XL, examine whether shoulder drop and sleeve width remain deliberate rather than relying on extra length to signal a larger size. Confirm whether artwork stays one size or changes by garment size, and check the smallest panel for clearance. Evaluate washed size-set measurements against the relevant tolerances. Freeze the approved grade rules with the pattern version so that later corrections to the base size do not silently change the rest of the range.
6. Release sampling and bulk through documented approval gates
Build the sampling request around a complete technical pack: measurement methods, base-size targets, grade assumptions, fabric article, collar construction, artwork files, color references, labels, and packaging requirements. MOQ 100 pcs per color per design is the starting garment requirement; confirm the size allocation and any separate fabric, dyeing, decoration, or trim minimums before placing the order. Samples take approximately 7 days once the brief and materials are confirmed. Clarify which sample type that estimate covers and allow additional time for material sourcing, shipping, decoration development, wash assessment, and revisions. Separate fit approval from color and decoration approval when provisional components are used. Mark every provisional element clearly so that accepting the shape does not authorize an unapproved fabric or print process. Ask for a revised sample when a material or construction change could materially affect the approved proportions.
Before bulk cutting, approve a production-intent sample with the agreed fabric, neckline, decoration, labels, and finishing route, then link it to the purchase order and technical pack revision. Require bulk fabric identity and shade review, relevant shrinkage findings, and confirmation that the cutting patterns reflect the approved size set. Establish checkpoints for early sewing, collar appearance, artwork placement, and finished measurements while corrections remain practical. Define the inspection approach, defect treatment, and escalation owner rather than relying on a final visual check alone. Bulk timing depends on quantity as well as material readiness, cutting and sewing capacity, decoration scheduling, and approval turnaround. Request a schedule with those dependencies visible and distinguish ex-factory readiness from shipping time. Hold substitutions or process changes for buyer review, retaining approved samples and measurement records as the common reference for resolving production questions.
Send these details together
- Define the target wearer, base size, measurement methods, and width-to-length balance for the intended oversized silhouette.
- Approve shoulder drop, armhole depth, sleeve volume, and movement on a wearer with recorded body measurements.
- Identify the fabric article and confirm actual-color opacity, worn drape, usable width, and separate material minimums.
- Approve collar recovery and garment-level decoration placement, including clearance on the smallest size.
- Review separate width and length changes after care and verify that the graded size range retains its intended proportions.
- Confirm MOQ 100 pcs per color per design, sample dependencies, production-intent approval, and bulk change controls.
This guide covers buyer-side planning for oversized and boxy drop-shoulder T-shirt OEM programs with a China clothing manufacturer. MOQ 100 pcs per color per design is the starting garment requirement; confirm size allocation and separate material or decoration minimums for the proposed order. Samples take approximately 7 days once the brief and materials are confirmed; bulk timing depends on quantity, materials, capacity, and approvals. Fit and performance decisions should be verified on the specified garment and care route rather than inferred from fabric weight or size labels alone. Reprint attribution: clothingmanufacturerchina.com.
Prepare a quote briefThe RFQ form prepares a WhatsApp message for you to review. For files, email sales@clothingmanufacturerchina.com.
Questions before sampling
Can I create an oversized tee by ordering a standard pattern two sizes larger?
That can provide a comparison sample, but it is not a reliable production specification. A larger standard pattern may add unwanted length, neckline width, or armhole depth without producing the intended boxy balance. Define the target body width, length, shoulder drop, and sleeve shape directly, then approve their relationship on the intended wearer before grading the remaining sizes.
What GSM should I specify for an oversized T-shirt?
There is no single weight that establishes the right oversized drape. Choose a candidate weight alongside composition, knit structure, finish, color, and the desired silhouette. Review actual-fabric garments for opacity, fold behavior, sleeve shape, and neckline loading. If the buyer wants more structure, compare material alternatives in the same pattern rather than assuming that increasing GSM alone will solve the issue.
Should the chest artwork be the same size across all garment sizes?
It can be, provided the smallest garment has sufficient clearance and the visual scale remains acceptable on larger sizes. Specify artwork dimensions separately from placement measurements and review both on the size set. If artwork scales by size, document each version and confirm any additional setup or minimum requirements. Approve the decorated garment after the intended care process as well.
What needs approval before the factory starts bulk cutting?
Approve the production-intent garment, current measurement and grading tables, fabric and collar references, decoration specifications, and relevant shrinkage findings. Confirm that bulk materials match the approved route and that patterns include agreed corrections. Record unresolved items as holds rather than informal comments. The release should identify the approved revisions, size allocation, inspection requirements, and person authorized to accept subsequent changes.
What are your MOQ, sample time and bulk lead time?
MOQ is 100 pcs. Samples take 7 days. Bulk production lead time depends on order quantity.