Private Label Clothing Tech Pack Checklist
A private label clothing tech pack checklist defines production requirements; sample approval confirms whether a submitted garment meets them. Keep those records separate and connect both through controlled versions. Cover sketches, the bill of materials, measurements and grading, construction, branding artwork, packing, and testing notes before requesting comparable quotations. Plan around MOQ 100 pcs per color per design, with fabric and component minimums checked separately. Samples take approximately 7 days once the brief and materials are confirmed; bulk timing depends on quantity, material readiness, capacity, and approvals. Release production only against identified documents, approved references, and explicitly resolved exceptions.
At a glance
Swipe the table sideways to compare both columns →
| Checklist area | Evidence to include | Release control |
|---|---|---|
| Sketches and construction | Front, back, detail views, seam instructions, and revision history | Resolve conflicting views and unspecified assembly details before sampling |
| Bill of materials | Component IDs, specifications, locations, suppliers, and approval status | Block substitutions unless the buyer approves a documented replacement |
| Measurements and grading | Measurement diagrams, base size, size table, tolerances, and finishing condition | Review fit and size progression separately before bulk cutting |
| Branding and packing | Artwork files, placement dimensions, label wording, and packing instructions | Approve physical execution and market information separately |
| Testing and approvals | Risk-based test plan, sample reports, exceptions, and release owners | Close required checks and identify the exact production reference |
1. Establish your private label clothing tech pack checklist
Treat the tech pack as the production specification, not as evidence that a garment has passed review. It describes the intended product; a sample approval records what was examined, which requirements were met, and what remains unresolved. A complete file can still produce an incorrect sample, while an attractive sample may hide missing instructions that prevent repeatable production. Start with a cover sheet identifying the buyer, style code, garment category, intended selling market, season or program, revision date, and responsible contacts. Add a document index covering sketches, materials, measurements, construction, artwork, packing, and testing. Mark each item as confirmed, provisional, or not applicable rather than leaving unexplained blanks. Assign a revision identifier to the full release and retain a change log showing who requested each update. This creates a shared reference when the buyer, merchandiser, pattern team, and production staff discuss different versions.
Define the development brief before expanding it into detailed instructions. State the intended customer, fit direction, use conditions, order quantities, target delivery window, and any supplied reference garments. Explain which reference details should be copied and which are only inspiration; a photograph should not silently override written specifications. Use /how-to-brief-private-label-clothing-oem to organize the initial OEM brief, then transfer confirmed decisions into controlled tech pack pages. Keep commercial terms, ownership agreements, and production authorization connected to the pack without assuming they are established by a drawing. Name the person who can approve changes and require written confirmation when factory suggestions alter materials, measurements, or construction. If a question is unresolved, record its owner and required decision date. Do not invite the factory to fill critical gaps using its usual practice unless that practice is described, reviewed, and accepted for the particular style.
2. Make sketches and construction instructions executable
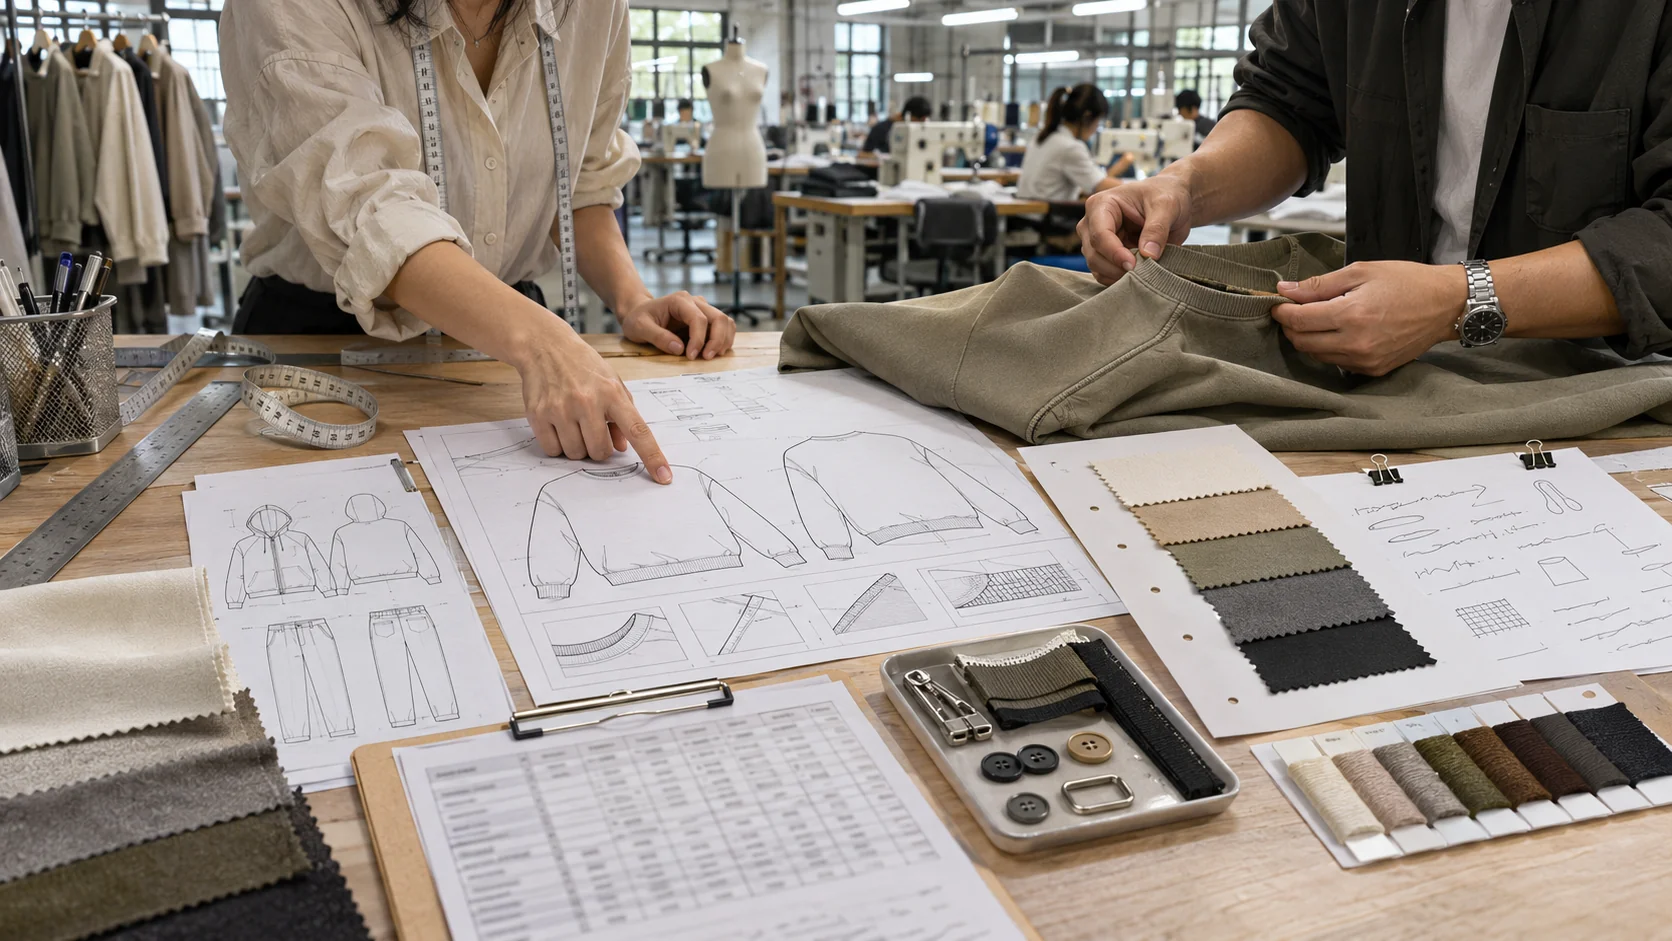
Provide clear front and back technical sketches for each design, with enlarged views wherever assembly or appearance cannot be understood at garment scale. Menswear details may include a shirt placket, collar stand, jacket facing, trouser fly, waistband closure, pocket opening, or sweatshirt hood attachment. Number callouts and connect them to written construction instructions instead of relying on an illustrator's visual emphasis. Show visible topstitching, panel joins, openings, reinforcement locations, and the intended position of functional components. Distinguish decorative lines from actual seams, and identify any hidden features in interior views. Include dimensioned details when proportions matter, such as pocket size or placket width, rather than expecting the factory to scale a sketch. State whether a reference image illustrates silhouette, assembly, or surface appearance. Review all views together so that a feature shown on the front does not contradict its side or interior construction.
Specify seam and stitch requirements in terms the production team can apply, including seam type, stitch type where necessary, seam allowance, stitch density, thread requirements, and finished edge treatment. Avoid a blanket instruction such as premium workmanship because it gives neither the operator nor the inspector a measurable target. Identify areas that need reinforcement and explain any restrictions on visible backtacking, exposed overlocking, or raw edges. For fused collars, cuffs, or jacket sections, connect the construction note to the approved interlining and require a trial on the intended shell fabric. Ask the factory to flag machine or attachment limitations before the sample is made. Record accepted manufacturing recommendations as revisions, not informal exceptions. Review whether the assembly sequence affects printing, embroidery, washing, or trim attachment. A change in sequence can alter access, appearance, or durability even when the final sketch stays unchanged.
3. Build a traceable BOM and quantity basis
Create a bill of materials with one identifiable entry for every fabric, lining, interlining, thread, closure, elastic, label, decoration, and packaging component. Give each entry a component code, garment location, specification, color reference, unit of measure, sourcing responsibility, and approval status. For fabrics, record the article reference, composition, construction, weight with its measurement condition, usable width, and required finish. Add stretch direction or surface orientation where these affect cutting and fit. For trims, specify dimensions, material, finish, attachment method, and any functional requirement instead of listing only a generic name. Distinguish an approved supplier article from a visual reference that has not been sourced. Attach swatches or images with matching identifiers, but do not treat a photograph as sufficient evidence of handfeel or performance. Require proposed alternatives to be documented before purchase, including the reason for substitution and the checks needed to approve it.
Use MOQ 100 pcs per color per design as the garment planning basis and include a style, color, and size quantity matrix with the pack. Confirm how contrast panels, different decorations, or distinct finishing routes affect the supplier's interpretation of a design or color. Keep fabric, custom trim, label, and packaging minimums separate from the garment minimum. Ask for estimated consumption, purchasing allowances, development usage, and expected surplus, with responsibility for unused buyer-specific materials recorded in the commercial documents. A component that is available for one sample may not be available in the required bulk quantity, so request availability and reservation information before treating the BOM as production-ready. Identify which quantities are estimates and when they will be checked against approved patterns and cutting plans. For replenishment programs, retain material references and agree replacement approval rules rather than permitting an unspecified equivalent on the next order.
4. Define measurements, grading, and finished fit
Issue a point-of-measure table supported by diagrams that show exactly where and how each measurement is taken. State the base size, measurement units, garment position, fastening condition, and whether an elasticated area is measured relaxed or extended under a defined method. Include relevant menswear dimensions such as chest, shoulder, body length, sleeve length, waist, rise, thigh, inseam, and leg opening, but select points according to the actual garment. Assign tolerances to individual measurements rather than applying one allowance to every dimension. Clarify whether the listed values describe the finished garment before laundering or the condition after a specified care procedure. Fabric relaxation, pressing, and finishing can affect results, so agree preparation and measurement conditions. Keep body size guidance separate from garment measurements. A size label or familiar fit name does not establish the intended ease, balance, or wearing position for your customer.
Provide the full size range and a graded measurement table, or assign responsibility for developing that table before approval. Review grade increments by measurement rather than assuming that every dimension increases evenly between sizes. Identify critical proportions and fit risks at the ends of the range, particularly where collar, armhole, rise, or sleeve balance can change differently from overall width. Ask the pattern team to distinguish a base-pattern correction from a grading change and from a shrinkage allowance. Each sample report should identify the pattern revision, material article, size, and finishing route so that corrections address the correct cause. Review an agreed selection of sizes before authorizing the graded set for cutting. Preserve accepted fit comments in the specification and approval record, including any intentional asymmetry or unusual proportions. Ownership, access, and transfer rights for pattern files require separate agreement; a measurement table alone does not establish those rights.
5. Control branding, label content, and packing
Maintain an artwork register for prints, embroidery, woven labels, patches, hangtags, and other branded components. Identify the current file, artwork dimensions, color references, production technique, placement, orientation, and approval owner for each item. Provide suitable production files and state whether dimensions apply to the entire artwork area or a particular visible element. Measure placement from defined garment landmarks and explain how it should change across sizes. A centered chest graphic, for example, still needs a clear vertical reference and an agreed size strategy. Request physical trials on the intended substrate when texture, stretch, coating, or garment color could affect the result. Review embroidery support, print coverage, and decoration behavior after the intended care procedure where relevant. Keep artwork ownership and permitted reuse in written terms. Approval of a graphic should not automatically authorize a supplier to display it, reuse it, or manufacture additional branded inventory.
Separate visual label approval from review of required product information for the intended selling market. Record fiber content, care instructions, origin information, size identification, and other applicable wording for review by the responsible party. Do not assume that a factory's standard label is suitable for every destination or sales channel. Add label placement, attachment, orientation, and comfort considerations to the construction pages. For packing, specify folding method, garment presentation, individual packaging, barcode content and placement, size stickers, assortment rules, carton markings, and permitted packing materials. State whether cartons may mix sizes or colors and identify how the purchase order will map to carton contents. Use sample layouts or a packing trial to check readability and handling rather than approving only flat artwork. If packaging or labeling information remains provisional, define which purchasing and production activities are blocked. Incorrect printed components can create avoidable replacement work even when the garment itself is acceptable.
6. Add testing notes and controlled release gates
Include a risk-based testing and inspection plan that reflects the garment, materials, decoration, intended use, and selling market. Potential checks include dimensional change, color transfer, seam performance, pilling, closure function, print durability, or embroidery appearance, but select requirements rather than copying an unrelated test list. For each required check, identify the method, acceptance criterion, sample condition, responsible party, and stage at which results are needed. Agree methods with a competent testing provider where necessary; a note saying test passed is incomplete without the method and result. Distinguish supplier internal checks from independent testing and from destination-market compliance review. Connect inspection requirements to visible workmanship, measurements, functionality, labeling, and packing, with agreed defect classifications and acceptance rules. Define how failed results trigger containment, investigation, correction, and renewed review. Testing a development swatch does not automatically establish that later material lots or finished bulk garments meet the same requirements.
Build a sample plan that states what each submission is intended to prove and which decisions remain open. Samples take approximately 7 days once the brief and materials are confirmed; allow separately for sourcing, custom components, transit, testing, and revisions. A substitute-fabric fit sample cannot approve final material performance, and artwork approval cannot authorize bulk cutting. Use /private-label-clothing-sample-approval-checklist to record measurements, appearance, materials, and exceptions against each submitted version. Before release, connect the approved preproduction garment to the BOM, patterns, artwork, packing instructions, and required test results. Bulk timing depends on quantity, material readiness, capacity, and approvals, so request a schedule tied to those conditions. Use /how-to-start-a-private-label-clothing-line for broader launch sequencing. When the pack is ready for supplier review, submit it through /private-label-clothing-manufacturer with the quantity matrix and unresolved questions, requesting a written feasibility review before treating a quotation as production acceptance.
Send these details together
- Identify the style, revision, decision owners, document index, and unresolved items without confusing specifications with sample approvals.
- Provide consistent technical sketches, detail dimensions, construction instructions, and reinforcement requirements.
- Complete the BOM and quantity matrix using MOQ 100 pcs per color per design, with separate material and component minimums.
- Define measurement methods, tolerances, finishing condition, base size, grading responsibilities, and size review gates.
- Control artwork versions, placement, label information, packing specifications, and buyer-specific asset rights.
- Assign testing requirements, sample purposes, approval records, change controls, and the conditions for bulk release.
This guide covers tech pack completeness for buyer-managed private label menswear programs sourced from a China OEM factory, including sketches, materials, sizing, construction, branding, packing, and testing notes. It does not replace sample evaluation, a manufacturing agreement, or destination-market compliance review. MOQ 100 pcs per color per design is the garment planning basis; confirm size allocation and separate fabric and component minimums. Samples take approximately 7 days once the brief and materials are confirmed; bulk timing depends on quantity, material readiness, capacity, and approvals. Reprint attribution: clothingmanufacturerchina.com.
Prepare a quote briefThe RFQ form prepares a WhatsApp message for you to review. For files, email sales@clothingmanufacturerchina.com.
Questions before sampling
Is a complete tech pack the same as an approved sample?
No. The tech pack defines the required product, while sample approval records whether a particular submission meets those requirements. Identify the sample's document revision, materials, pattern version, and finishing condition. Record accepted details and unresolved exceptions separately. An approved fit sample in substitute fabric should not be treated as approval of final fabric performance, branding, packing, or bulk production.
Can a factory quote before every tech pack detail is final?
A factory can provide a provisional quotation if assumptions and exclusions are explicit. Identify unresolved fabrics, trims, decoration methods, size allocations, and packing requirements, then ask which changes would affect cost or timing. Reconfirm the quotation after those choices are resolved. Do not treat a price based on generic components as acceptance of later custom specifications or as permission to substitute materials.
How should MOQ 100 pcs be shown in the tech pack?
Include a quantity matrix showing at least 100 pcs per color per design as the planning basis, with the proposed size allocation. Ask the supplier to confirm how different artwork or finishing variations are classified. List separate fabric, trim, and packaging minimums in the purchasing review, including any surplus commitments. The garment minimum alone does not confirm that every custom component is feasible.
Does the approximately 7-day sample allowance include all approvals?
No. Samples take approximately 7 days once the brief and materials are confirmed, but this is a planning allowance for sample preparation rather than the entire approval cycle. Custom material development, unavailable components, transport, testing, buyer review, and revisions need separate allowances. Define the purpose and material condition of each sample, then agree a schedule that includes decision time and any required resubmission.
What are your MOQ, sample time and bulk lead time?
MOQ is 100 pcs. Samples take 7 days. Bulk production lead time depends on order quantity.